Get Started - Email Sandbox
Learn how to inspect and debug emails with sandbox functionality.
- Catch testing emails from staging.
- Preview and analyze content for spam.
- Validate HTML/CSS before sending emails.
Good to know
- Your emails won’t reach your users as you use our Sandbox SMTP.
- You don’t need to verify a domain to use sandbox.
Email Sandbox Overview
Step 1. Navigate to Email Sandbox
Go to your first Sandbox by clicking Sandboxes, then My Sandbox.

Tip: By default, we created an sandbox for you and called it "My Sandbox". The Edit button on the far right allows you to rename either a project or an sandbox.
Once inside “My Sandbox”, copy the credentials from the "Integration" tab to your clipboard.

Or, use one of the pre-made code snippets for major programming languages and frameworks:

Step 2. Send your first test email
After sending the first test email, you can immediately find it in your Mailtrap sandbox.
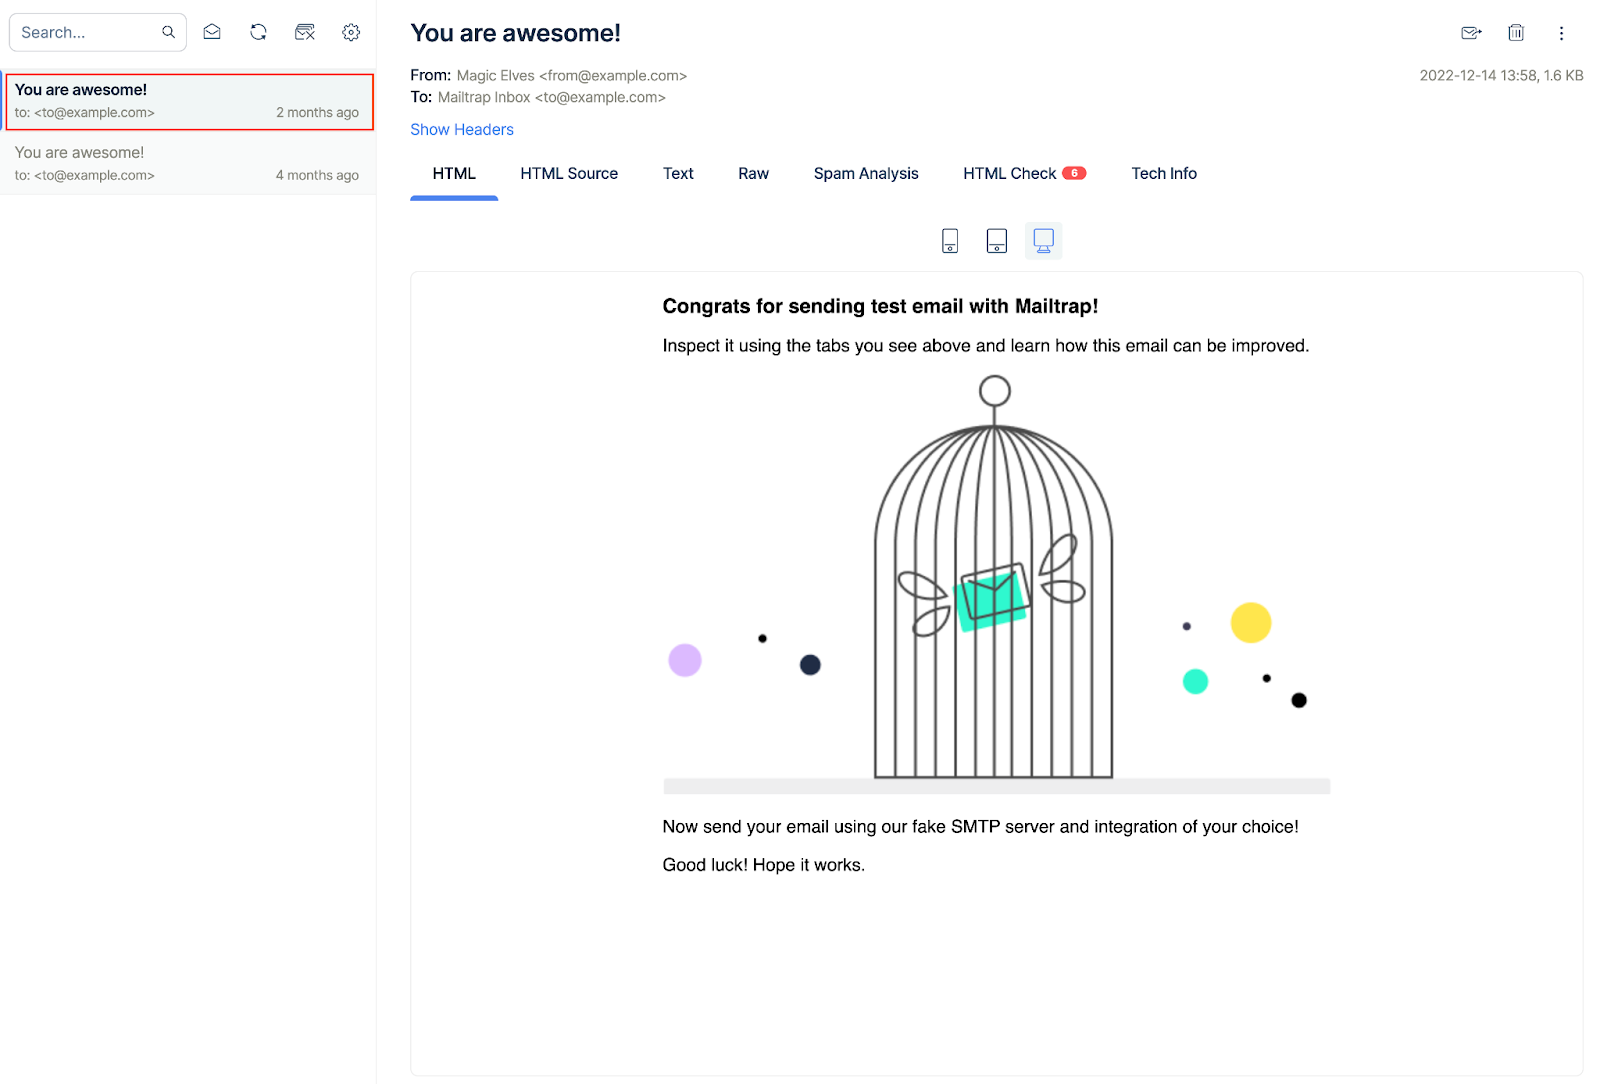
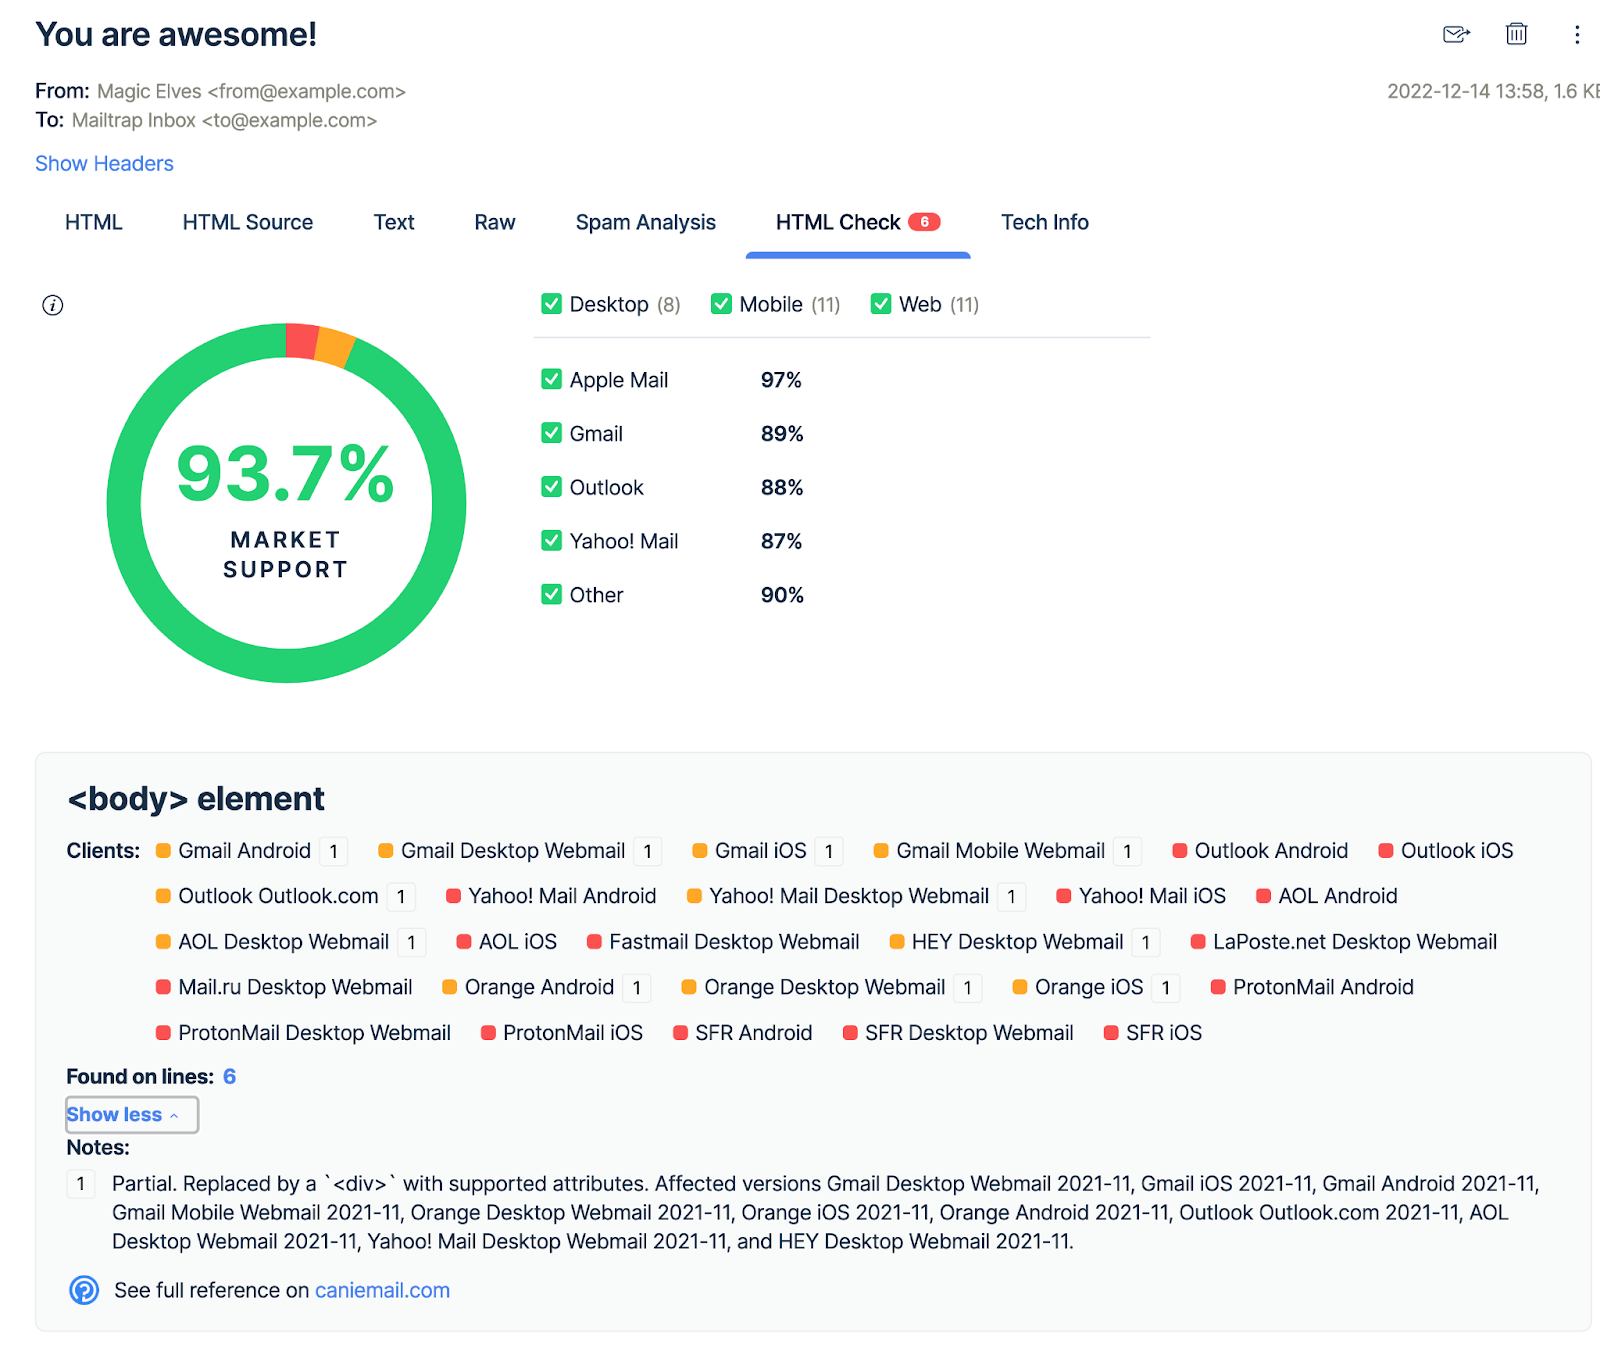
Click on the email, and proceed to inspect and debug it by selecting the HTML Check tab.
Lastly, you can automate the QA flow with API if you need it.
Bonus: Invite your colleagues
Mailtrap is a collaborative tool. Starting from the Team Plan, you can create different sandboxes and projects and share them with your colleagues.
That allows you to organize all testing-related workflows among different people - from user management with different permissions to SSO.
What else you can do with Email Testing
- Enable email per sandbox feature
- HTML or RAW format preview
- HTML Check
- Automatic Forwarding and Manual Forwarding to view emails in real sandboxes
- Test Bcc and email headers