Get Started - Email Marketing
Make sure you’ve added and verified a domain, or you won’t be able to send a campaign.
How to set up and send a campaign
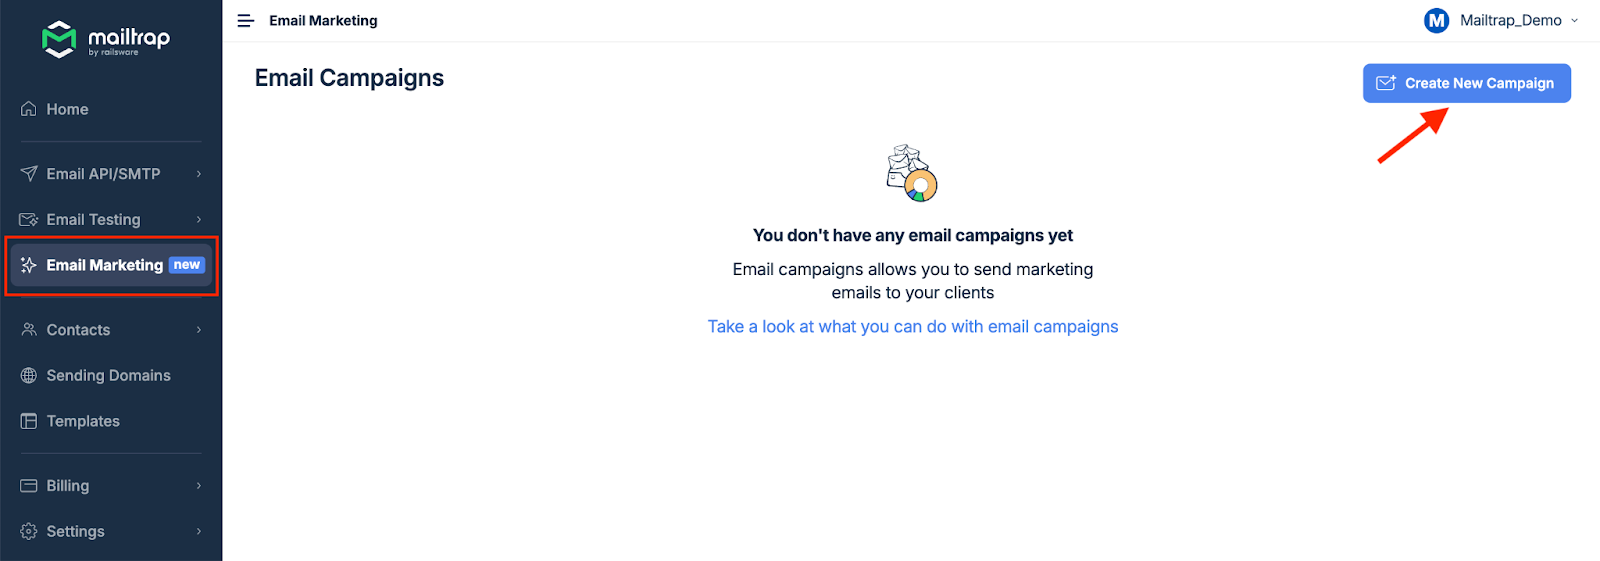
- Go to Email Marketing and click Create New Campaign.
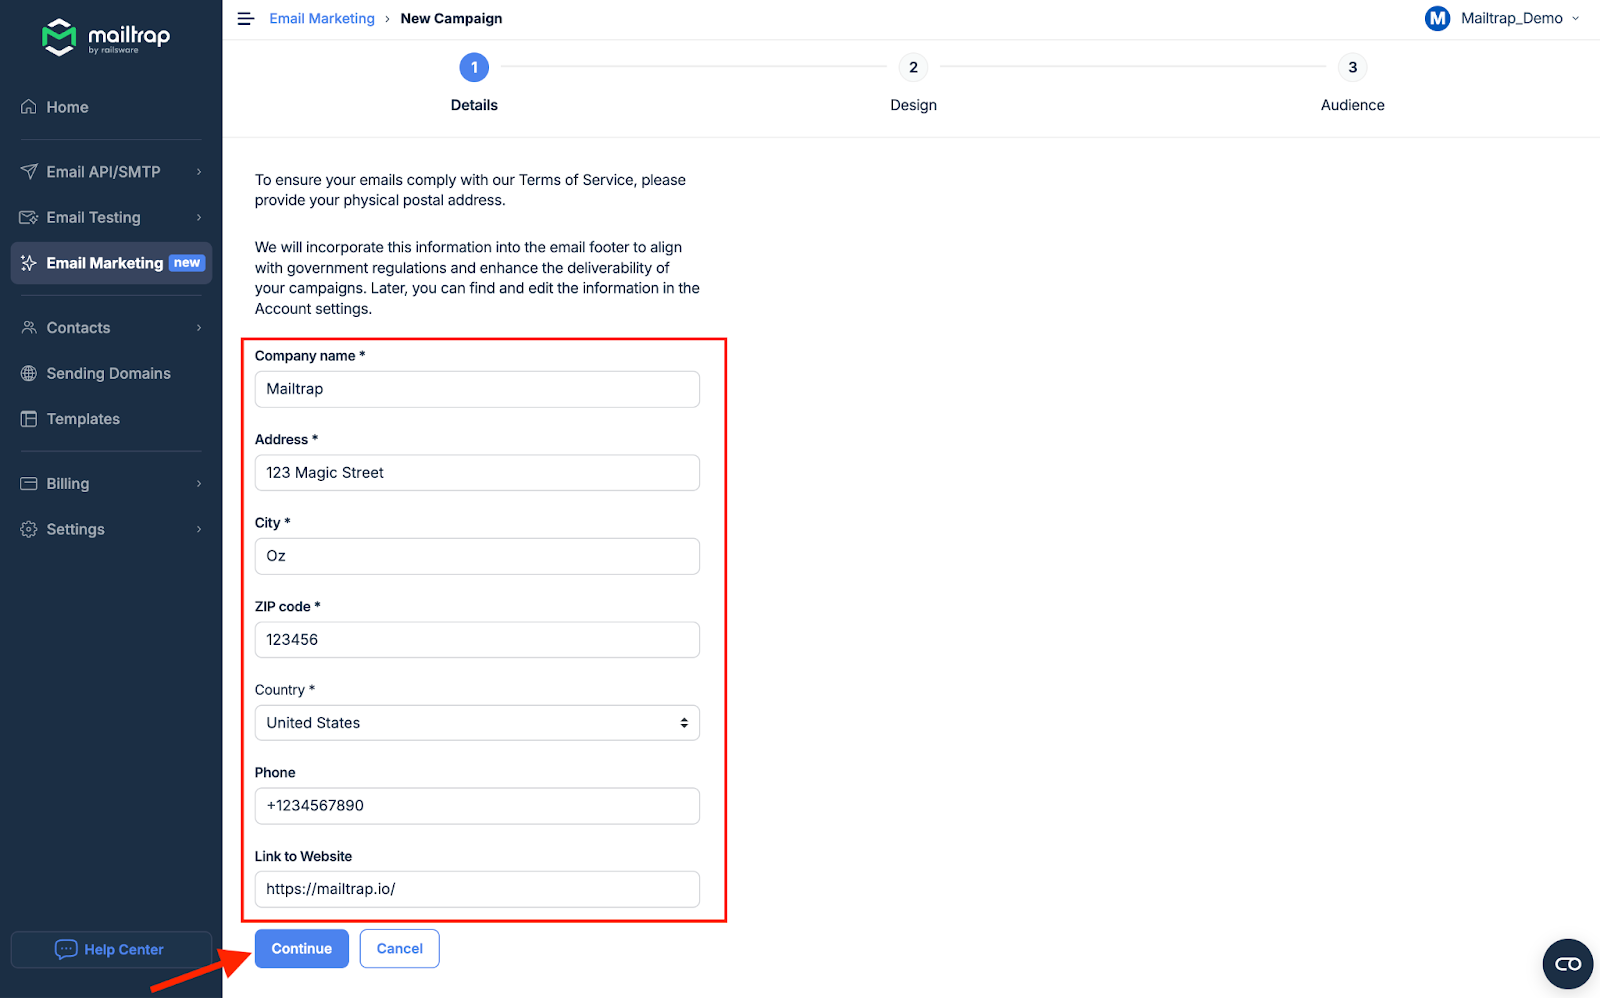
- Fill out the form with your company details, such as name, address, city, zip code, and country. Optionally, enter your company’s phone number and link to the website. This information will be added to email footers to ensure compliance with existing regulations. You’ll only have to complete this step once when creating your first campaign. Click Continue.
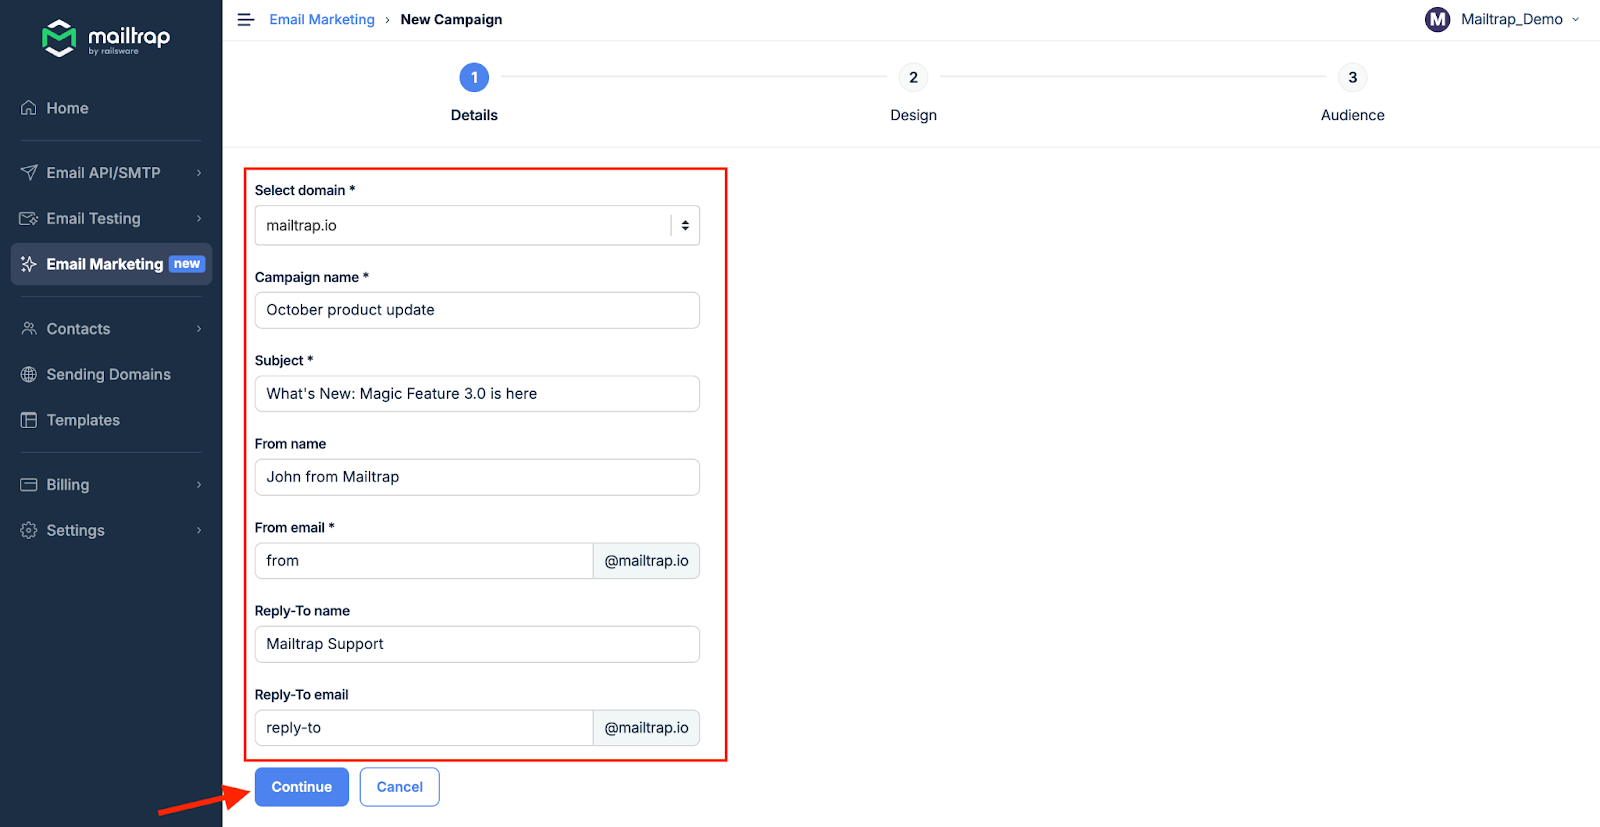
- Choose a domain from the Select domain dropdown, then set the Campaign name, Subject, and From email address. Optionally, set the From name, Reply-To name, and Reply-To email. If you have only one domain, no need to choose anything - it’s selected for you by default. Click Continue.
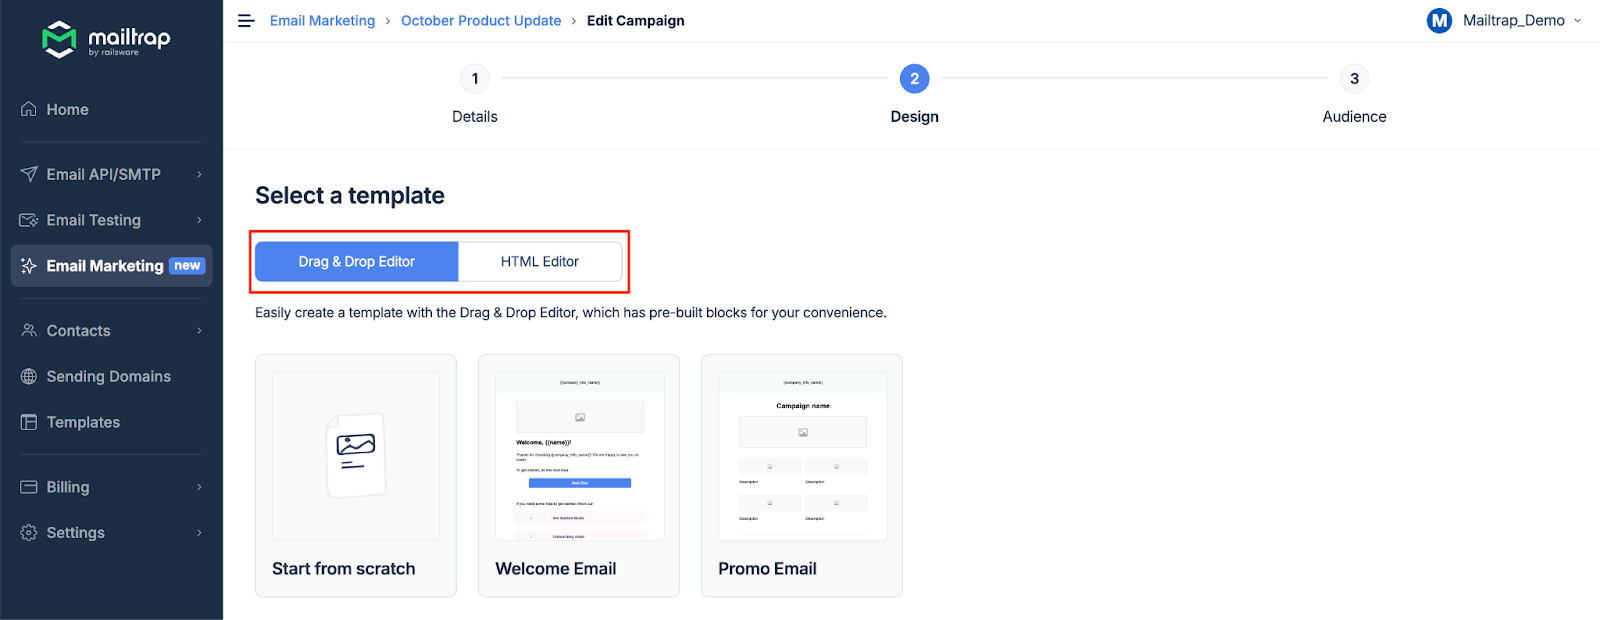
- You’ll be taken to the Design step, where you can choose between Drag & Drop and HTML editors. If you have templates stored, you’ll see them here. You can use them in your campaigns. Read more about creating templates here.
- Create your campaign design, click Save, and then Continue.
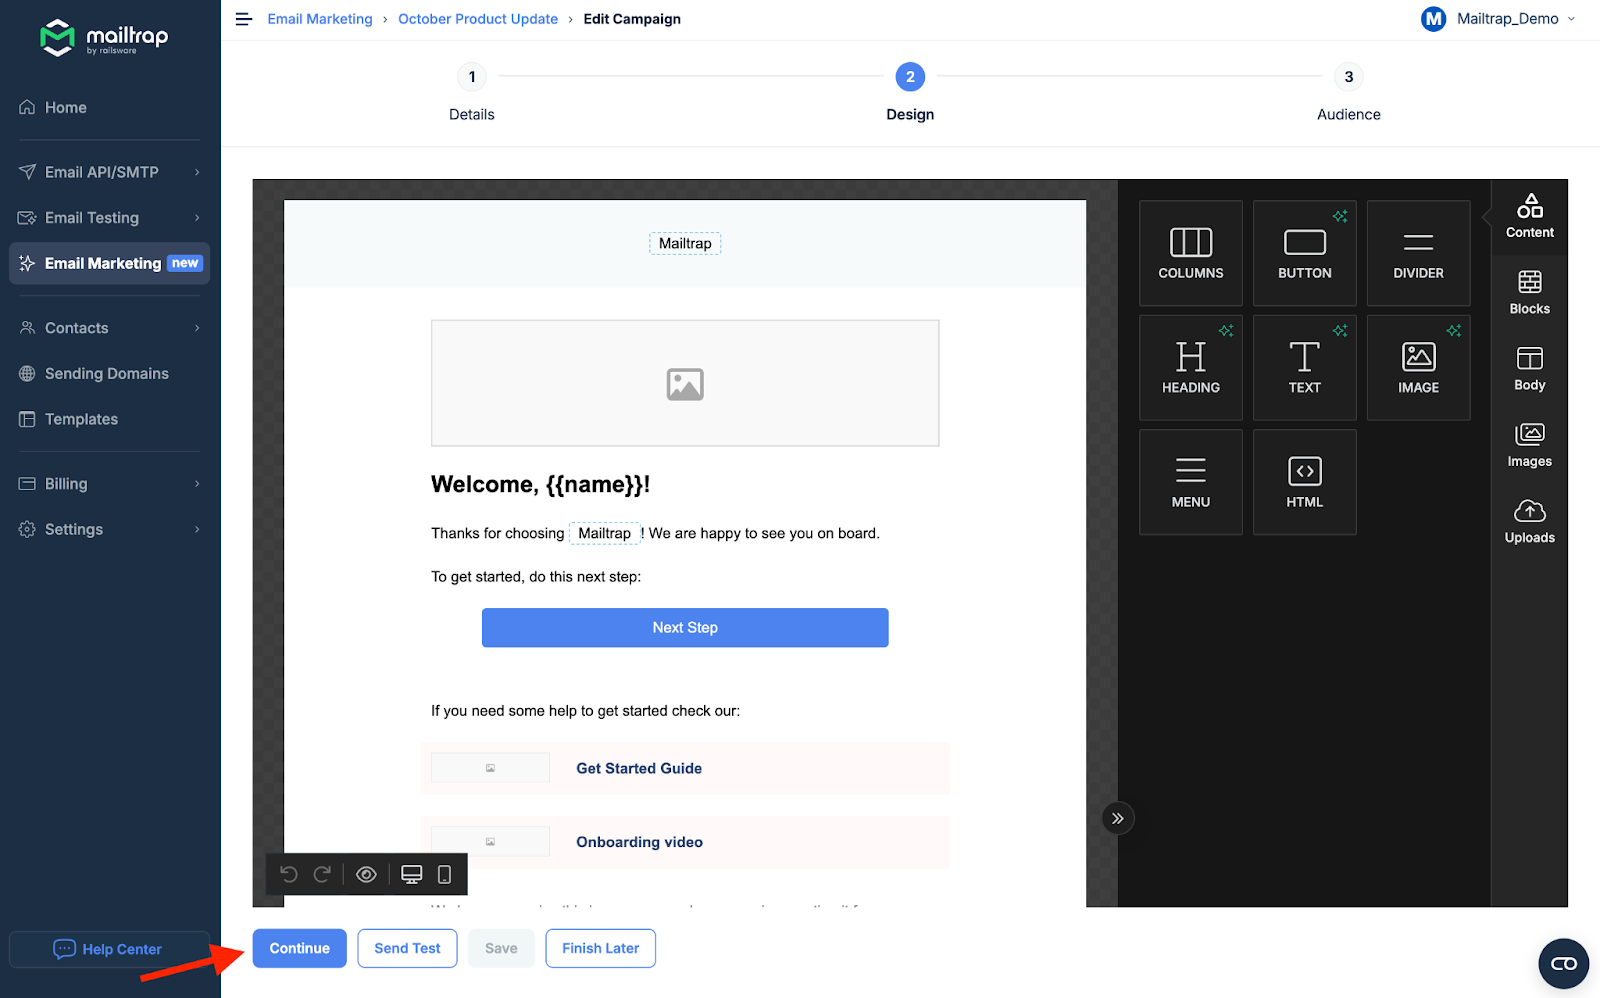
- Instead of continuing to the next step, you can click Send Test to send a test to one email address to check the design in your email client or click Finish Later to return to the campaign Details, where you can change any of the parameters you set in previous steps.
- If you’ve already imported your contacts, select your audience by including or excluding specific lists. Then, click Confirm Audience. Tip: With Including and Excluding features, you can easily send campaigns to specific audience groups only.
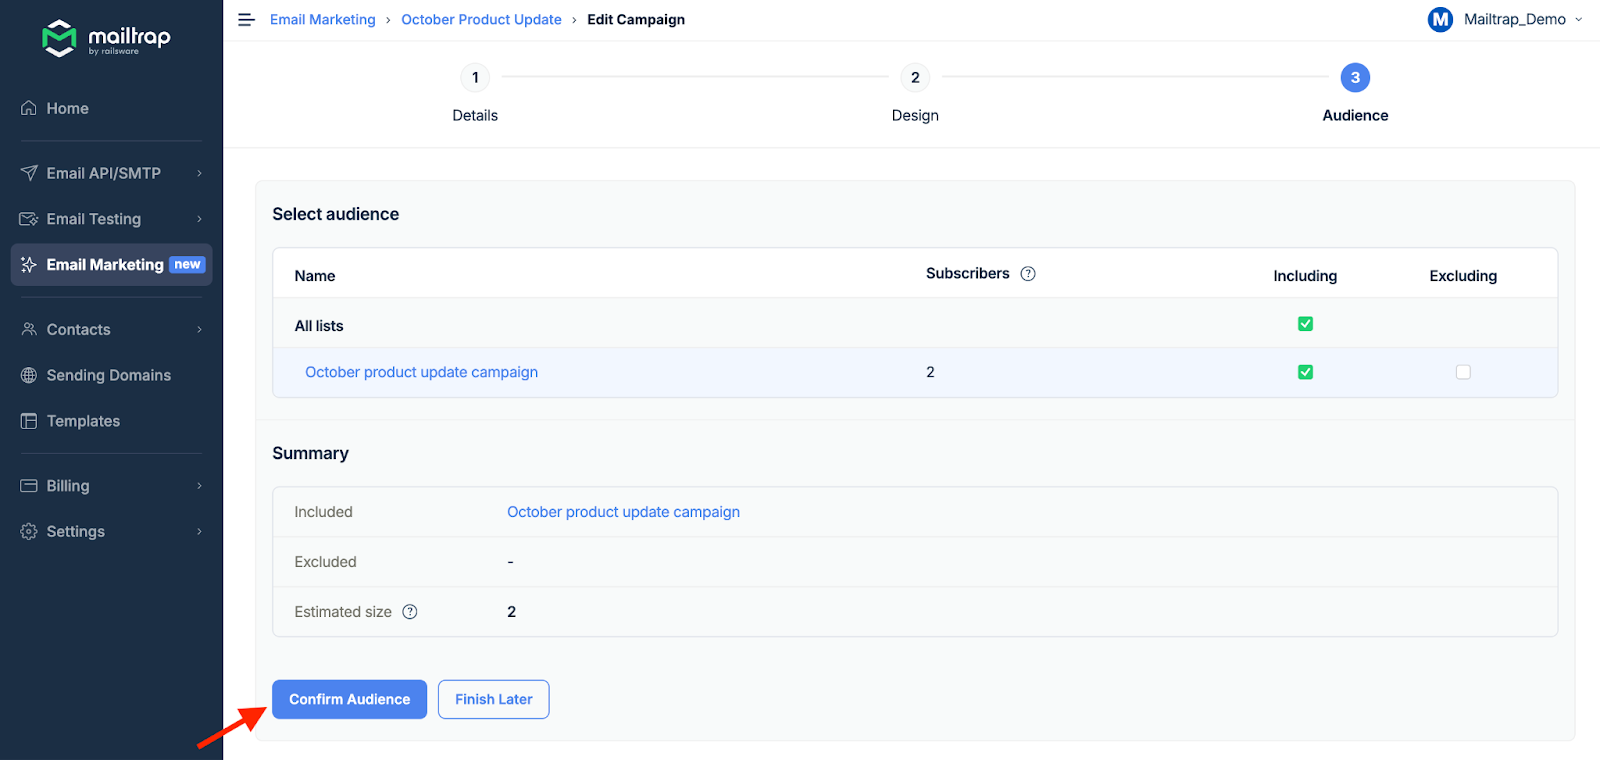
- If you didn’t upload your contacts before creating a campaign, you’ll be prompted to import contacts at this stage. Simply click Import Contacts and follow the steps (refer to this section in our Contacts guide for more details). Important: you should create Fields beforehand to be able to assign variables to the fields (map fields) when importing contacts.
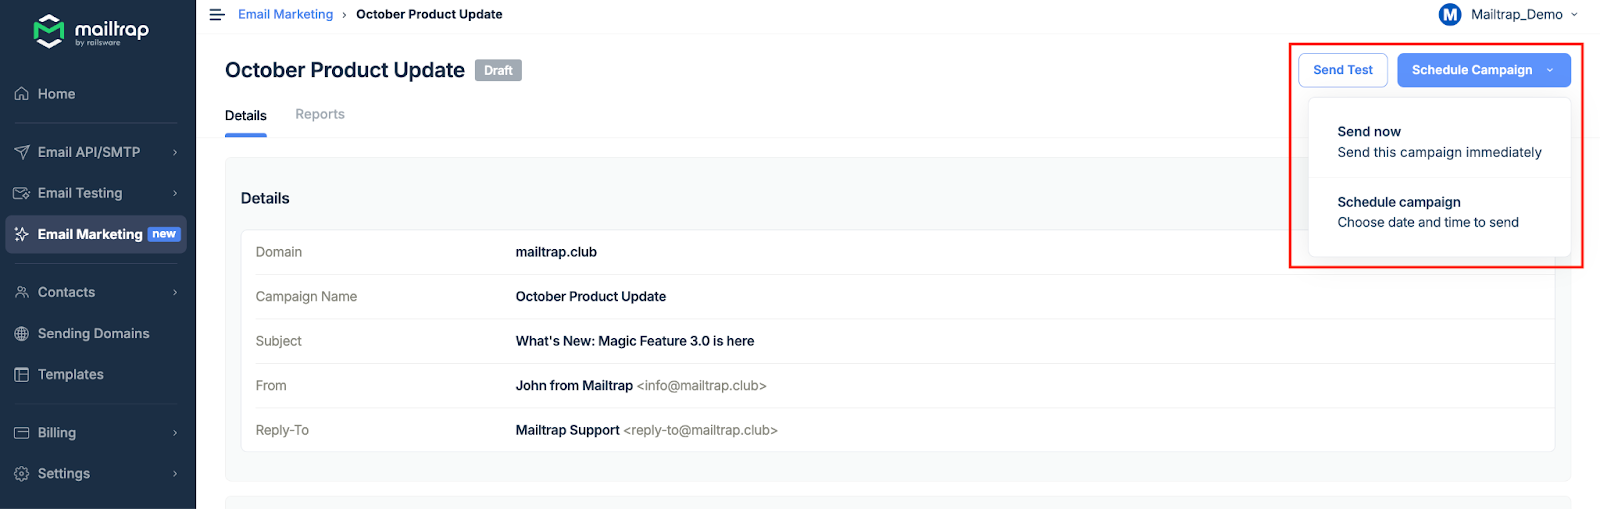
- At this point, you can click Send Test to send a test email to one email address, choose Send now to send the campaign immediately, or select Schedule campaign to send it at a specific date and time.
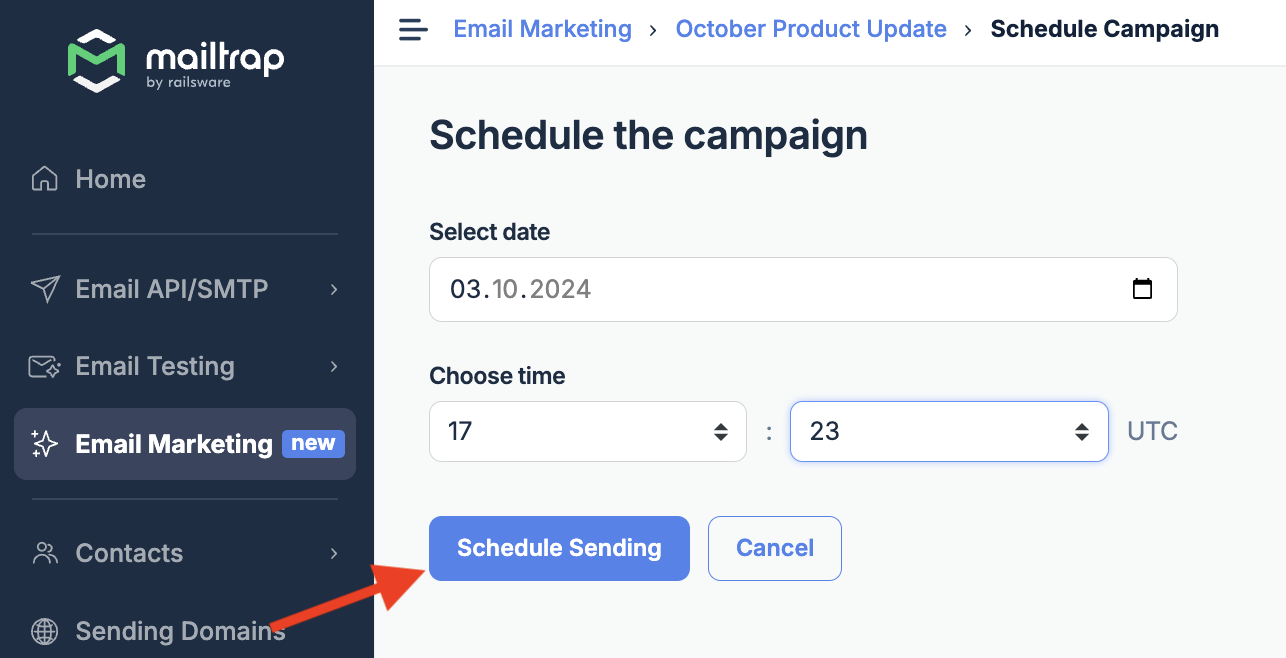
- To schedule the campaign, click Schedule Campaign, select the date, and choose the time. Then, confirm the action by clicking Schedule Sending.
What’s next?
Once your campaign has been sent, you can check the campaign deliverability data and stats. Here’s how to do it:
- Click Email Marketing in the left navigation panel and you’ll have a quick preview of all the campaign data. If we’re still collecting the data, you’ll be notified accordingly.

- If you want more details for a particular campaign, click the campaign name, then select the Reports tab where you’ll see the full Statistics report.
