Zapier Integration
Using the Mailtrap integration with Zapier, you can automate email sending by connecting Mailtrap to over 7,000 other applications without any coding.
Connecting Mailtrap to Zapier
- Log in to your Zapier account or create a new account.
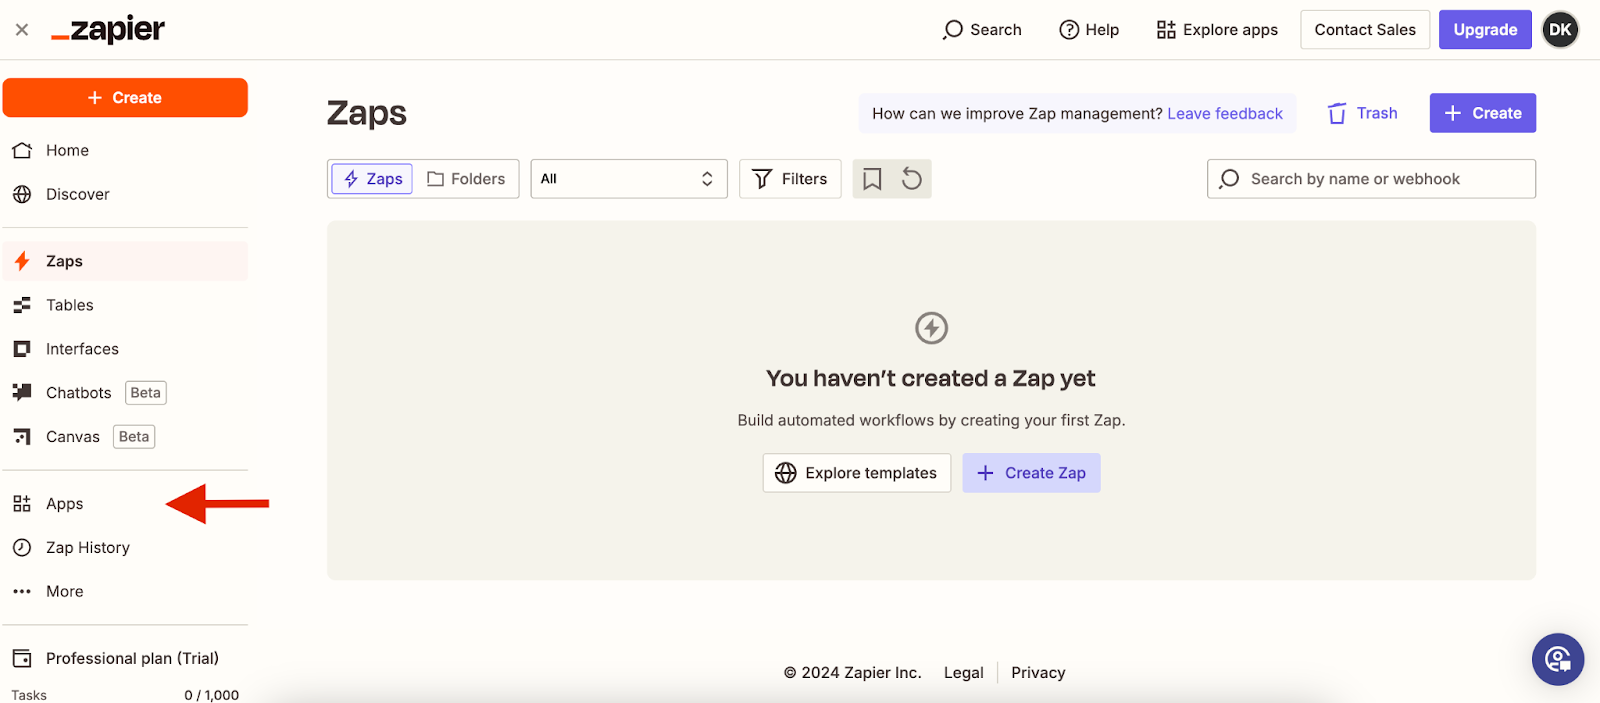
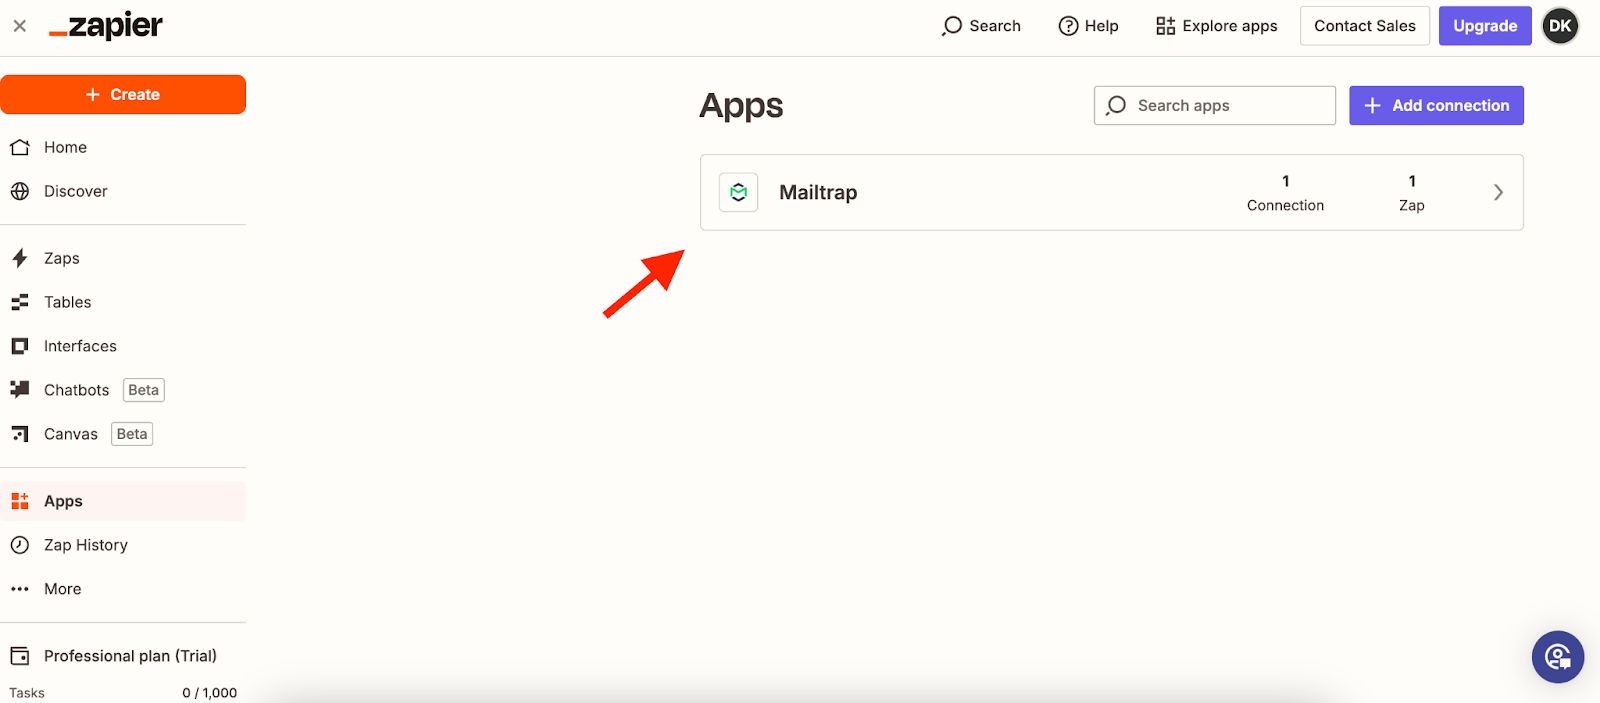
- Navigate to Apps in the left-hand side menu.
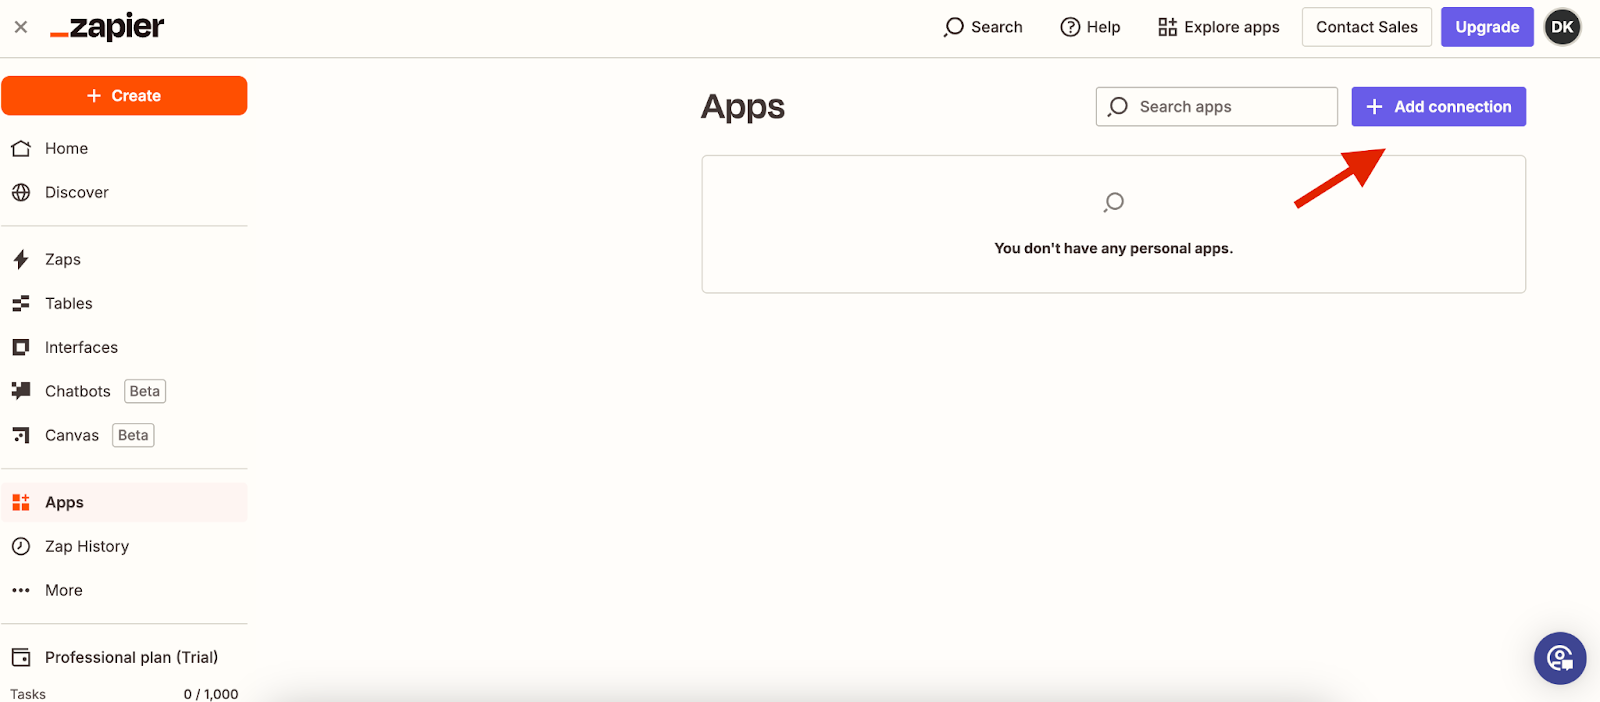
- Click Add connection.
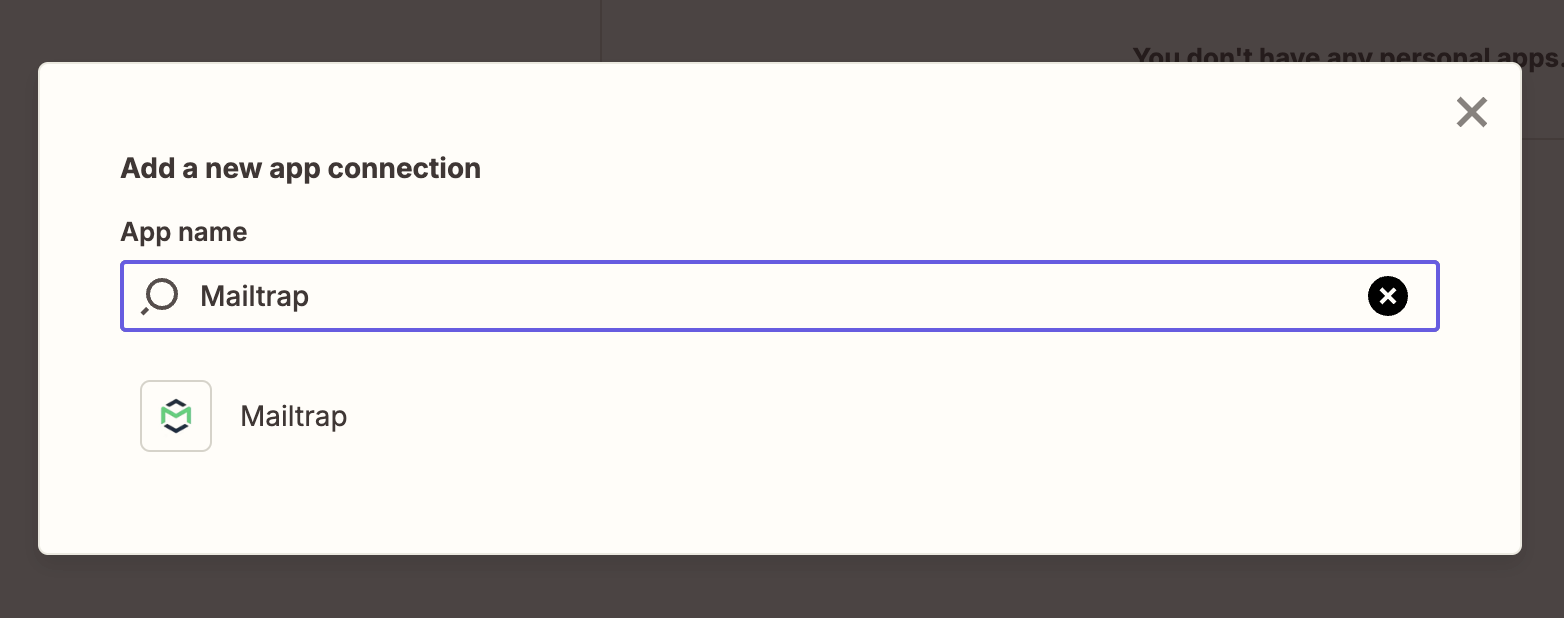
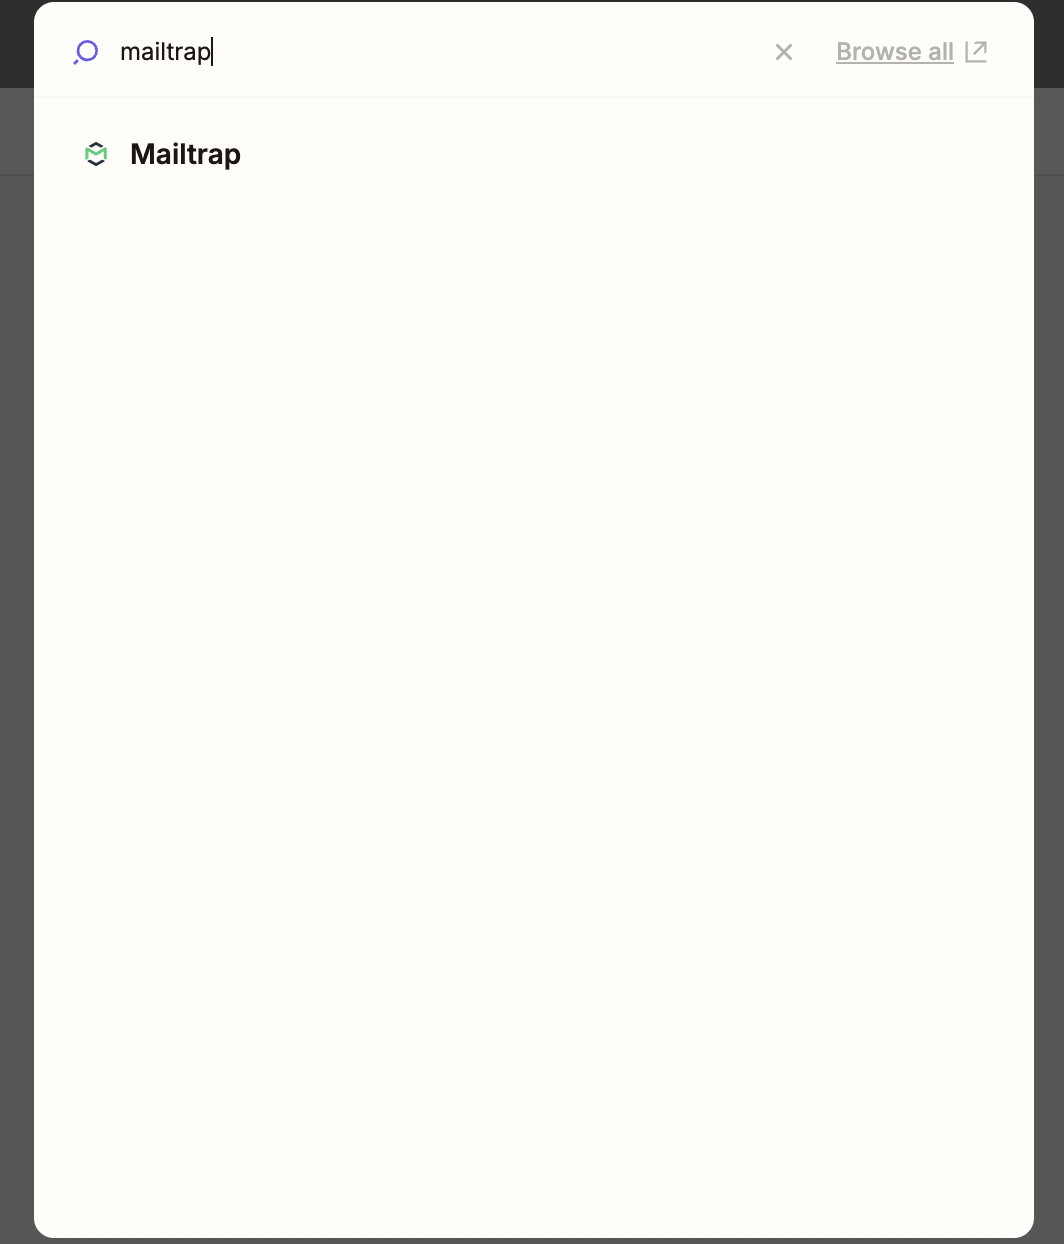
- Type in Mailtrap in the App name search bar.
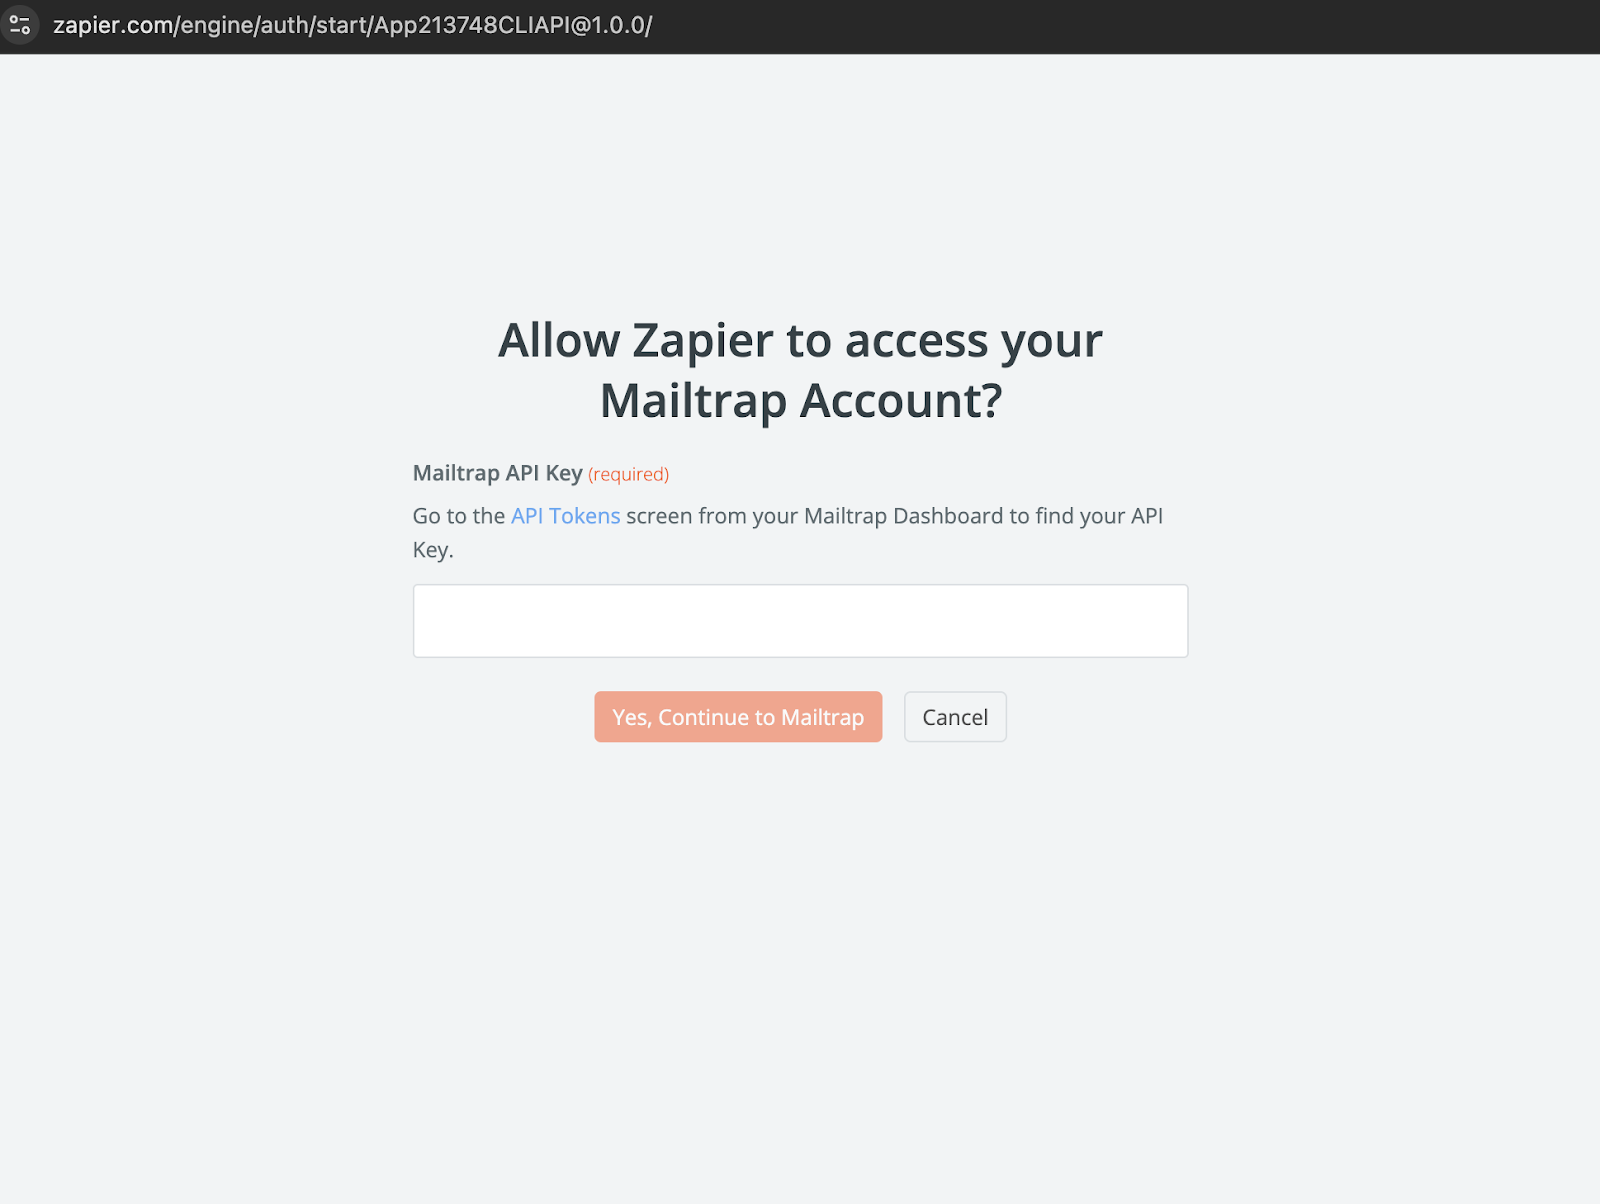
- Enter your Mailtrap API key to allow Zapier to access your account. Note: This should be the token for the domain you've added and verified in Mailtrap. You'll find it in the Settings → API Tokens menu.
Creating an automation
To set up trigger-based email sending via Mailtrap in Zapier, you need to create a Zap.
A Zap is a workflow connecting multiple apps that consists of a trigger (an event that starts a Zap) and one or more actions (events the Zap performs).
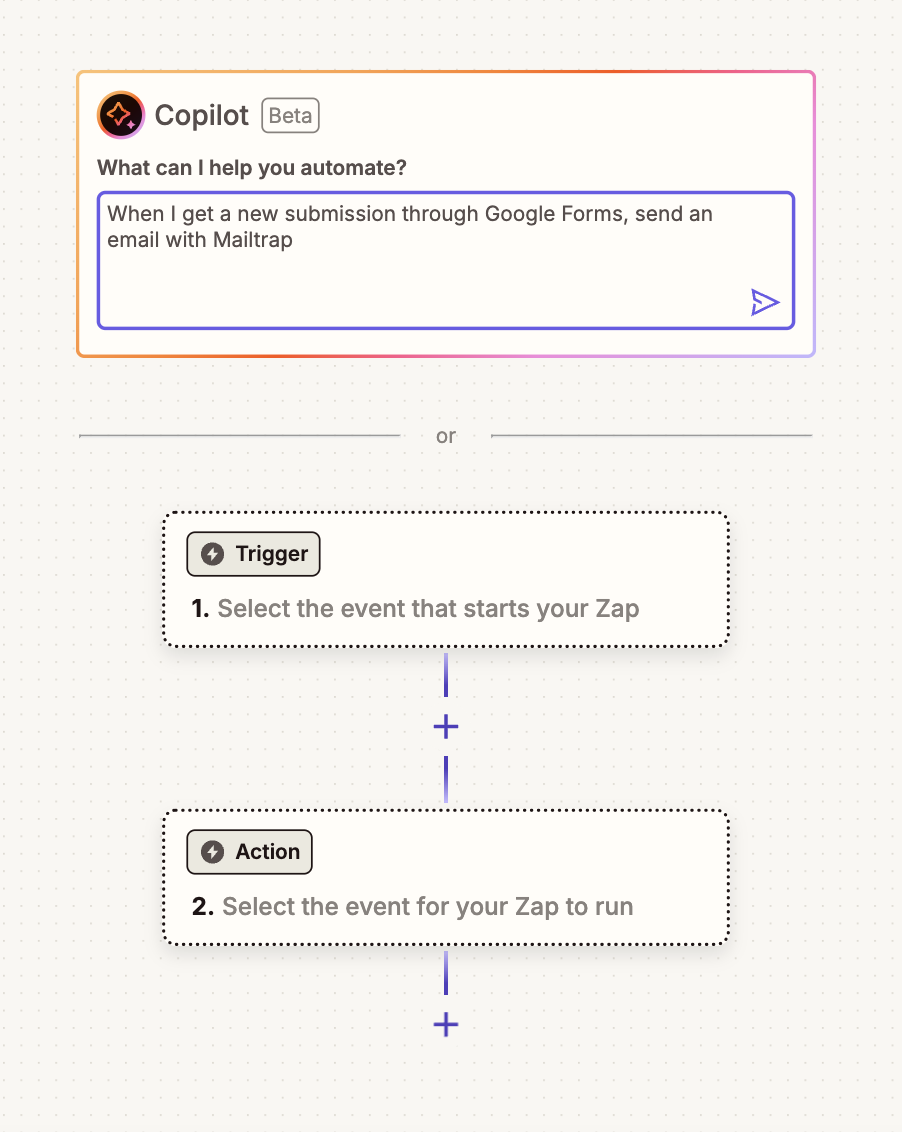
Using Copilot
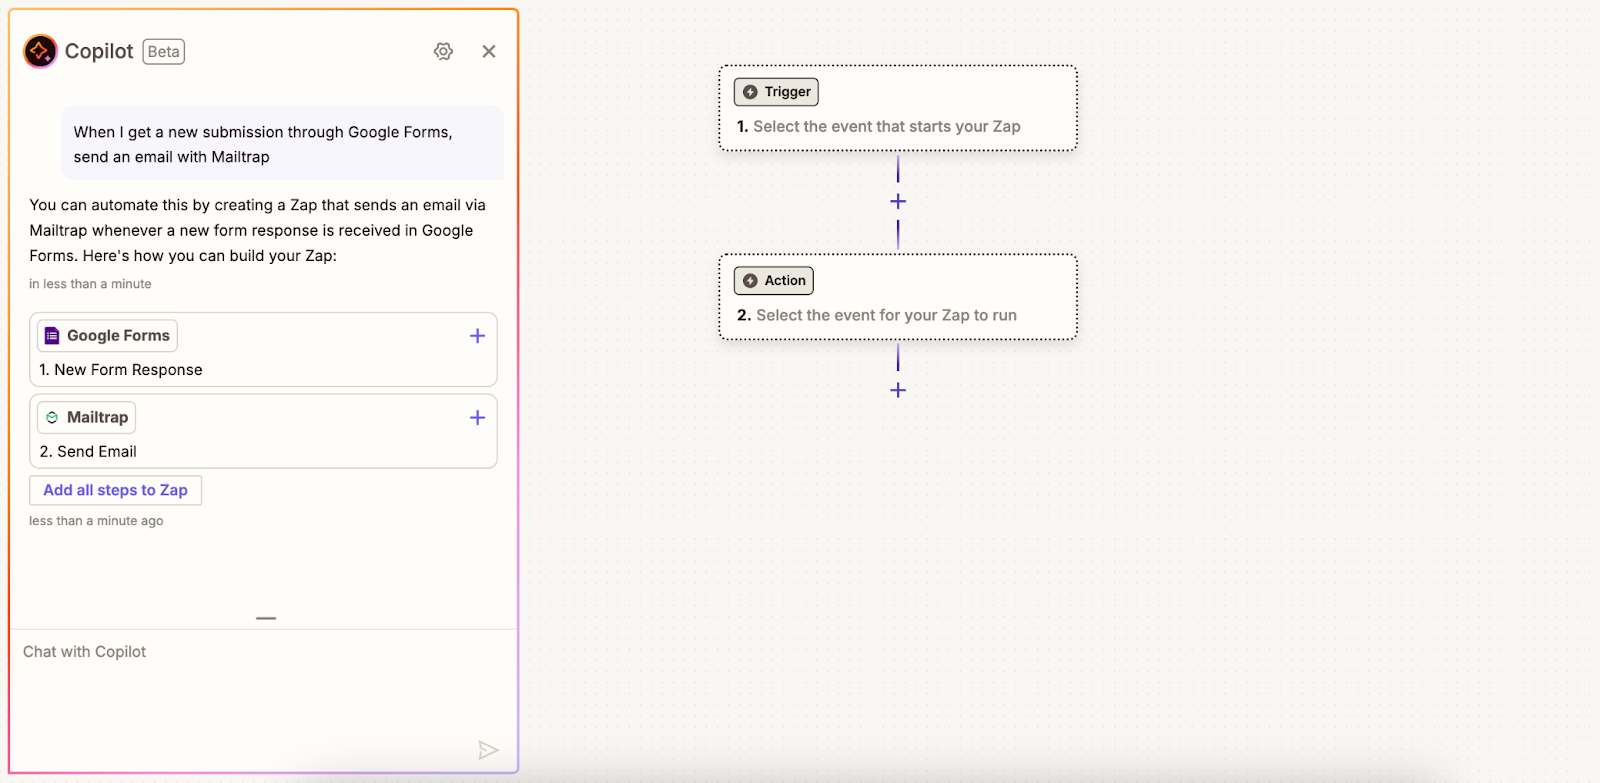
- Describe the workflow you want to create to Copilot.
- Add some or all the steps created by Copilot to the Zap or continue to prompt the chatbot to add or replace steps.
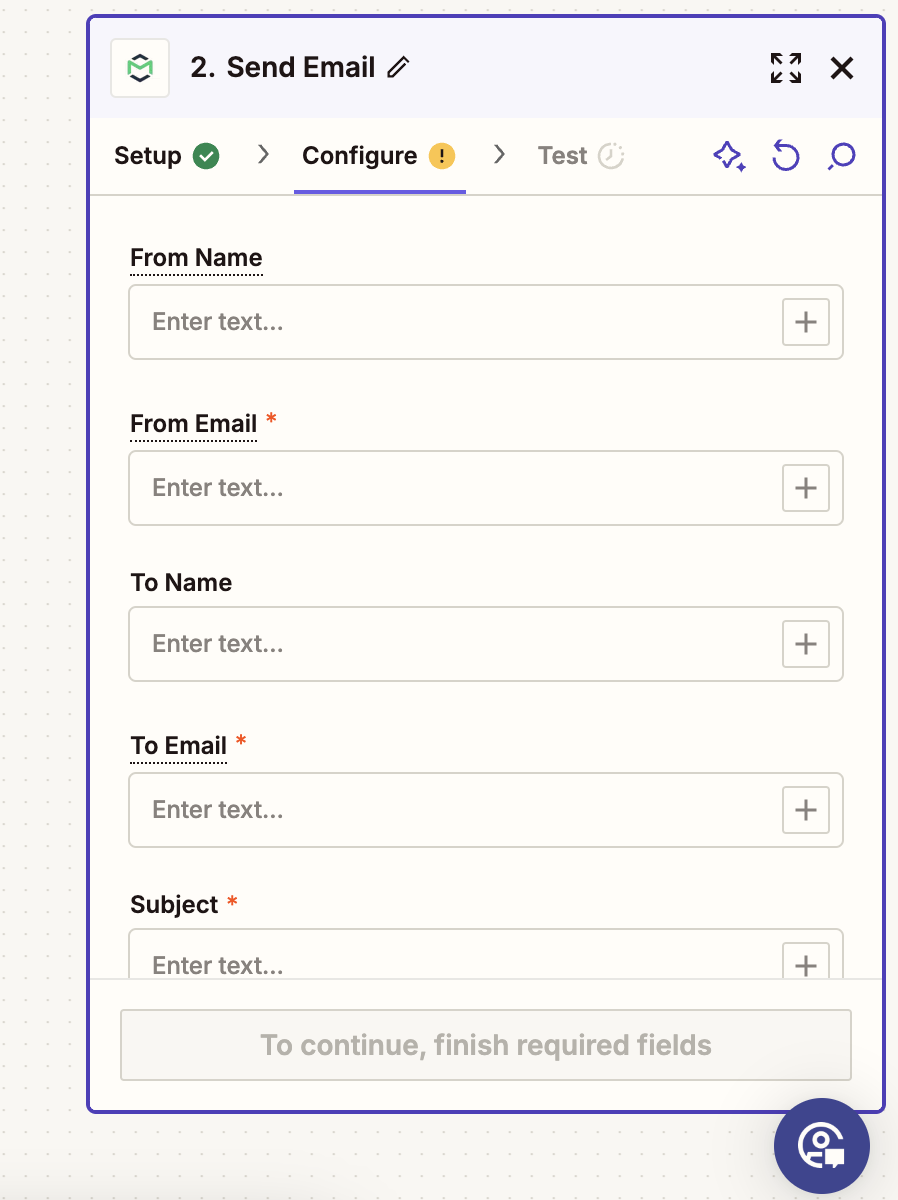
- Configure the required fields for sending an email. The from email should contain the same sending domain you added and verified in Mailtrap.
- Send a test email to Mailtrap (optional).

- Publish the Zap.
Manually
- Select an event (trigger) to start your Zap.
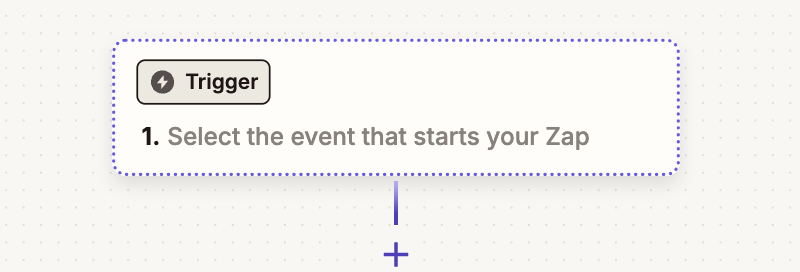
Zapier’s app directory contains 7,000+ apps with triggers and actions available for each.
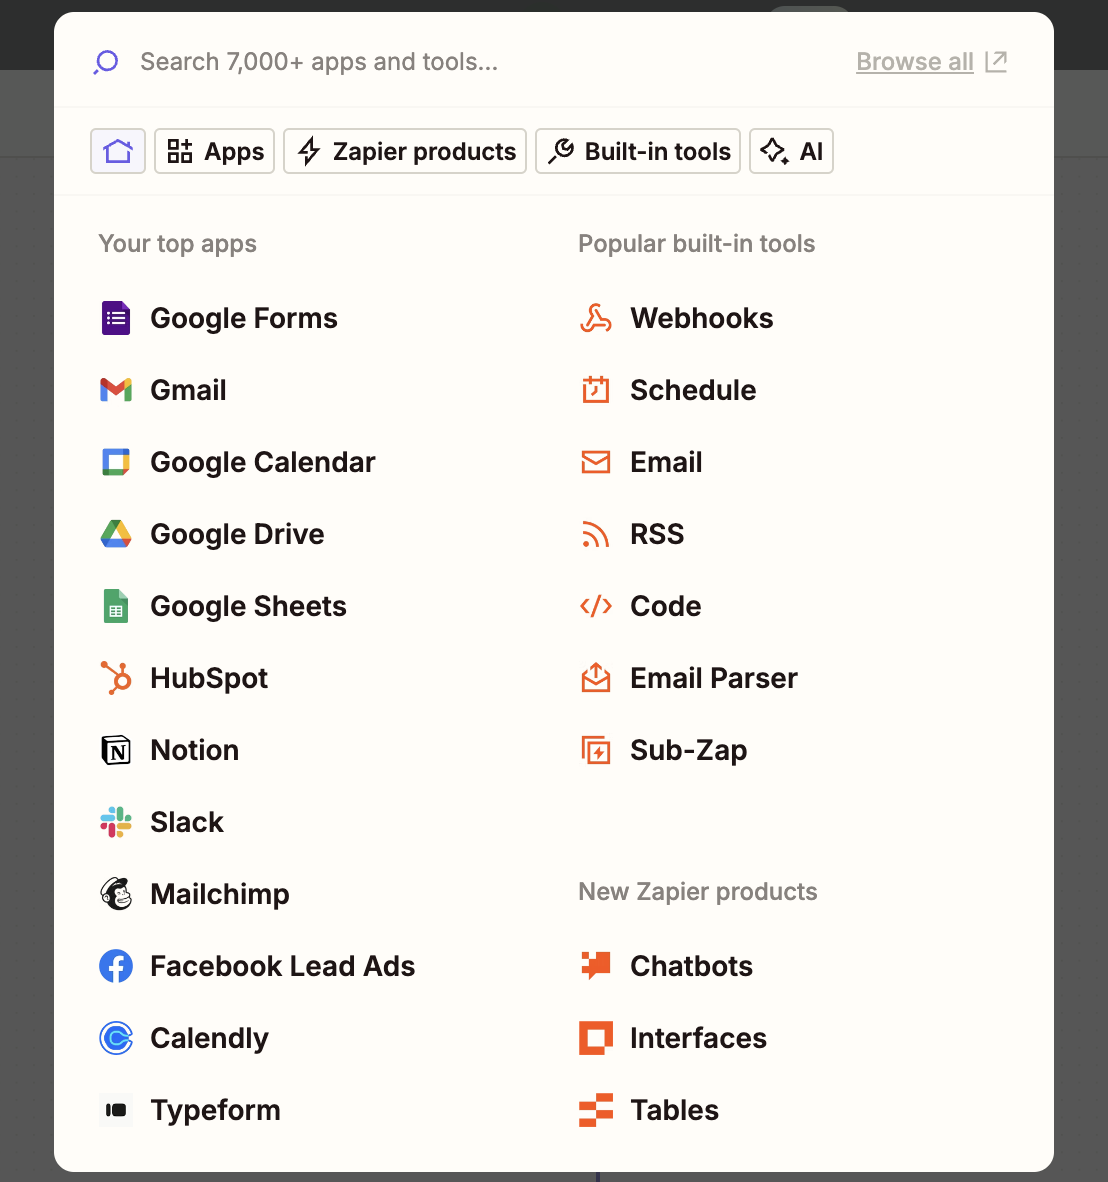
- Select Mailtrap as the action for your Zap to run.
- Select Send Email as the action event.
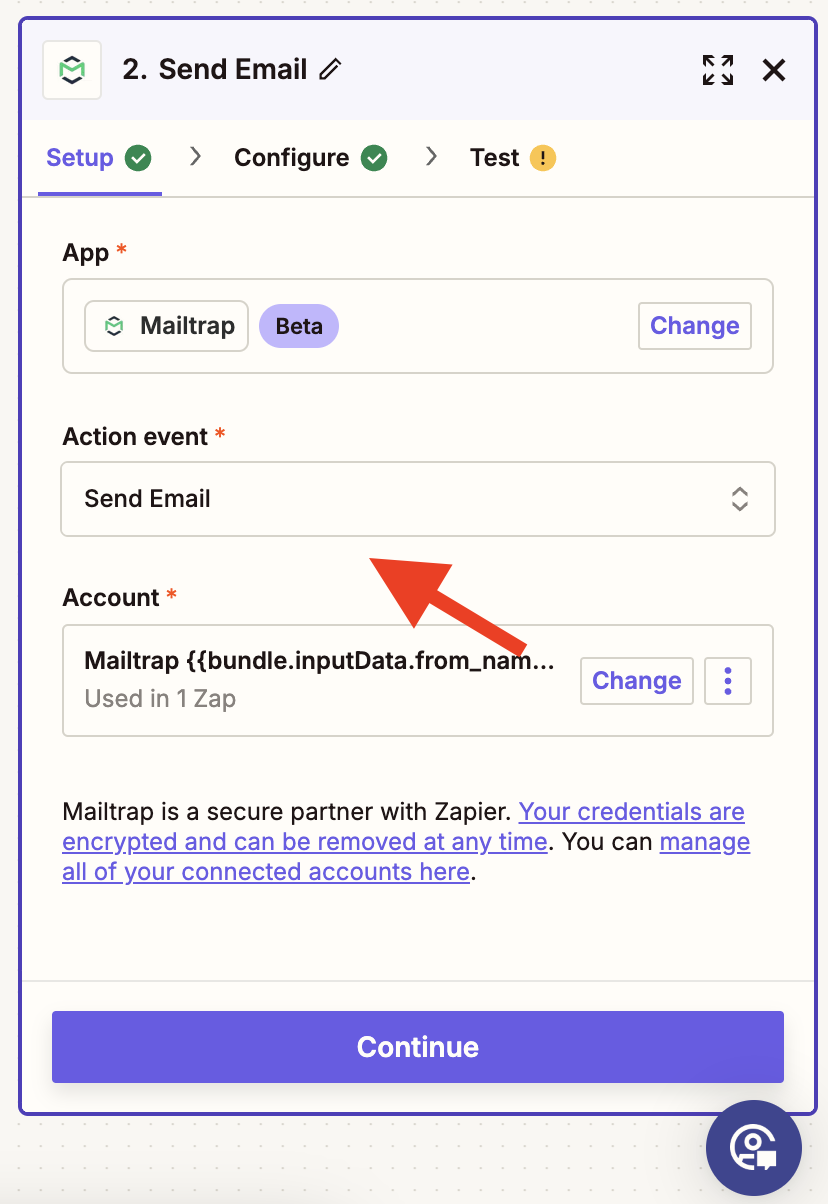
- Configure the required fields for sending an email.
- Send a test email to Mailtrap (optional).
- Publish the Zap.
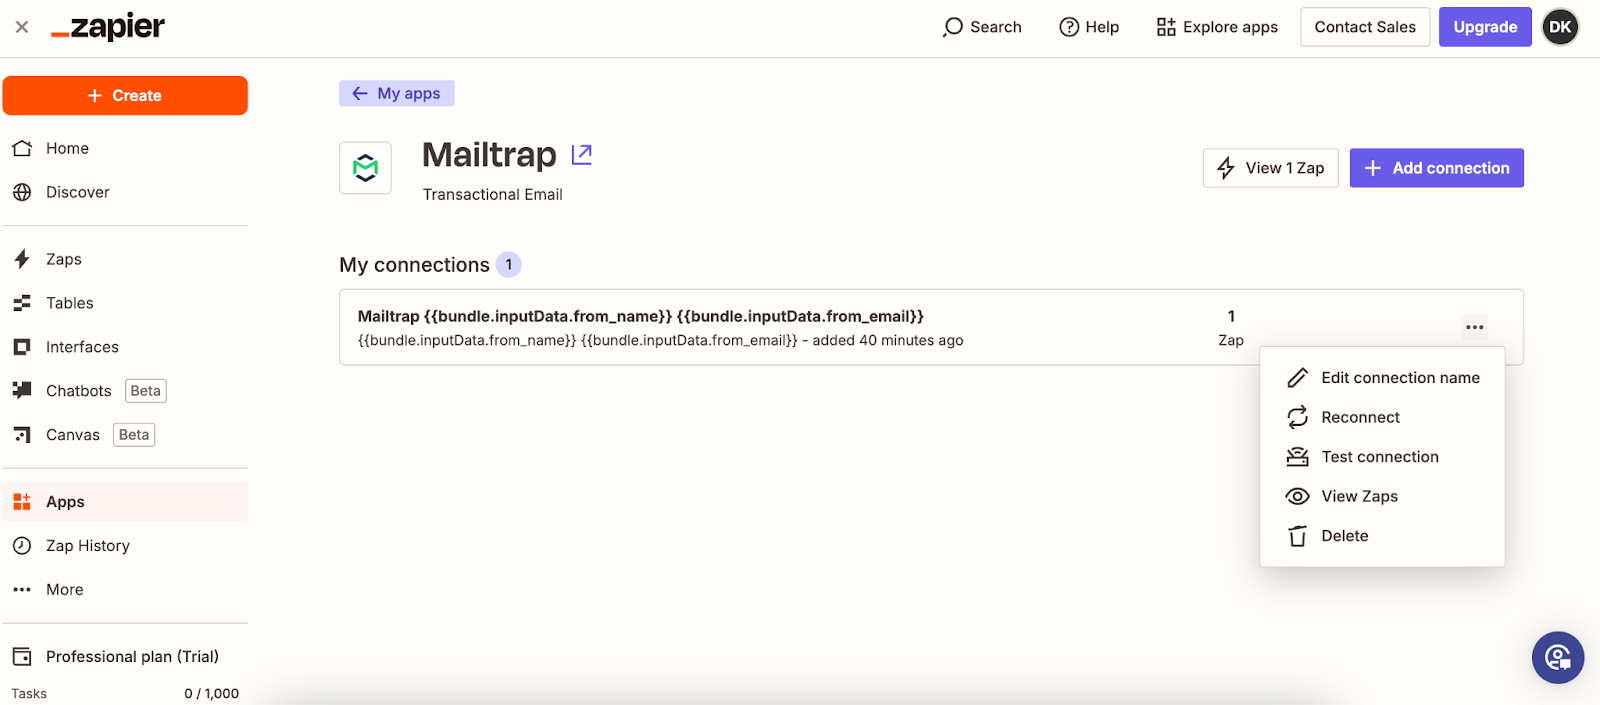
Removing Mailtrap credentials from Zapier
- Navigate to Apps in the left-hand side menu.
- Click on your Mailtrap connection.
- Click the three-dot menu and then Delete in the dropdown menu.
Using the same menu, you can edit the connection name, reconnect, test the connection, and view Zaps created using the connection.