Domain Verification with Google Domains
To add and verify a sending domain in Mailtrap, you need access to your domain’s DNS records and your domain provider account.
Read this article for more details on setting up your sending domain. Continue reading to learn how to add Mailtrap DNS records to Google Domains.
Note: On September 7, 2023, Squarespace acquired all domain registrations and related customer accounts from Google Domains. This means that Google Domains is now in the process of migrating account and domain data to Squarespace. Until the migration is completed, you can still manage your domains in Google Domains. After the migration, you’ll need to manage your domain in Squarespace.
This guide assumes that your domain is either registered with Google Domains and uses its nameservers or isn’t registered with Google Domains but uses its nameservers.
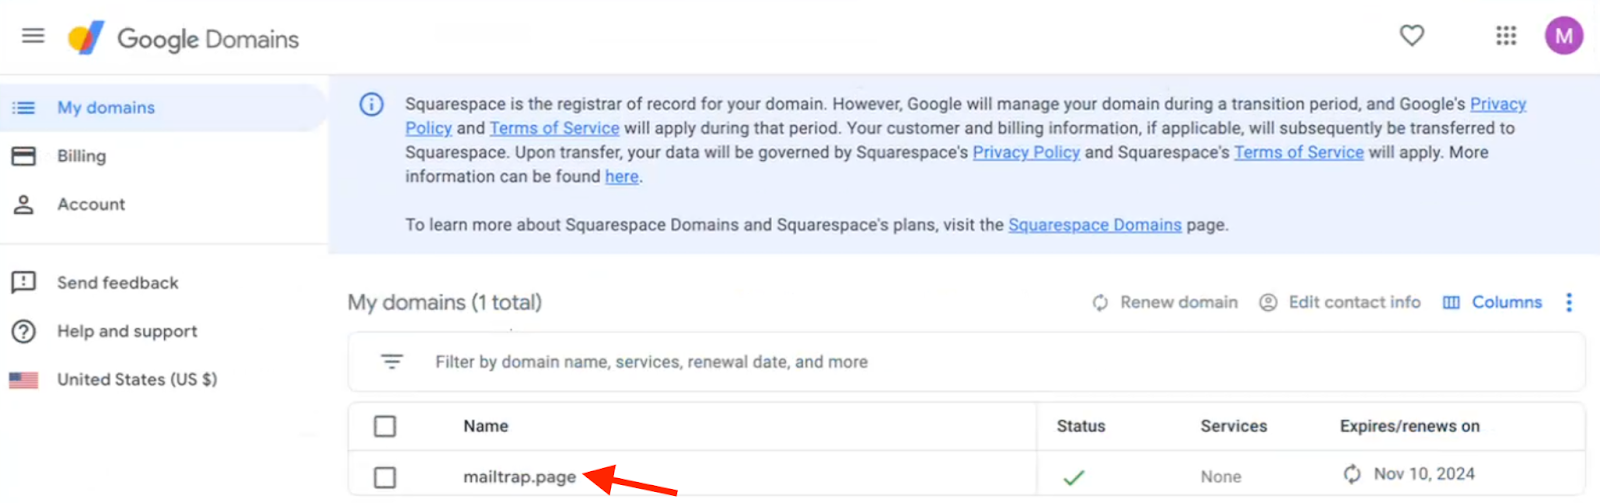
- Go to Google Domains and select the domain you’ve added to Mailtrap.
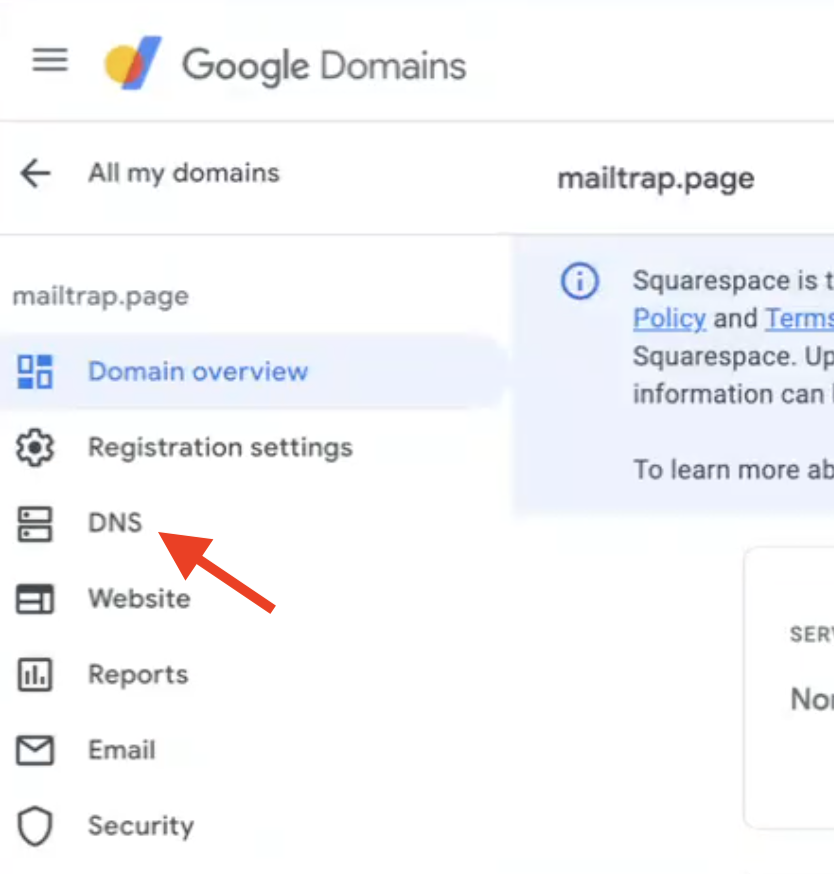
- In the left navigation panel, click DNS.
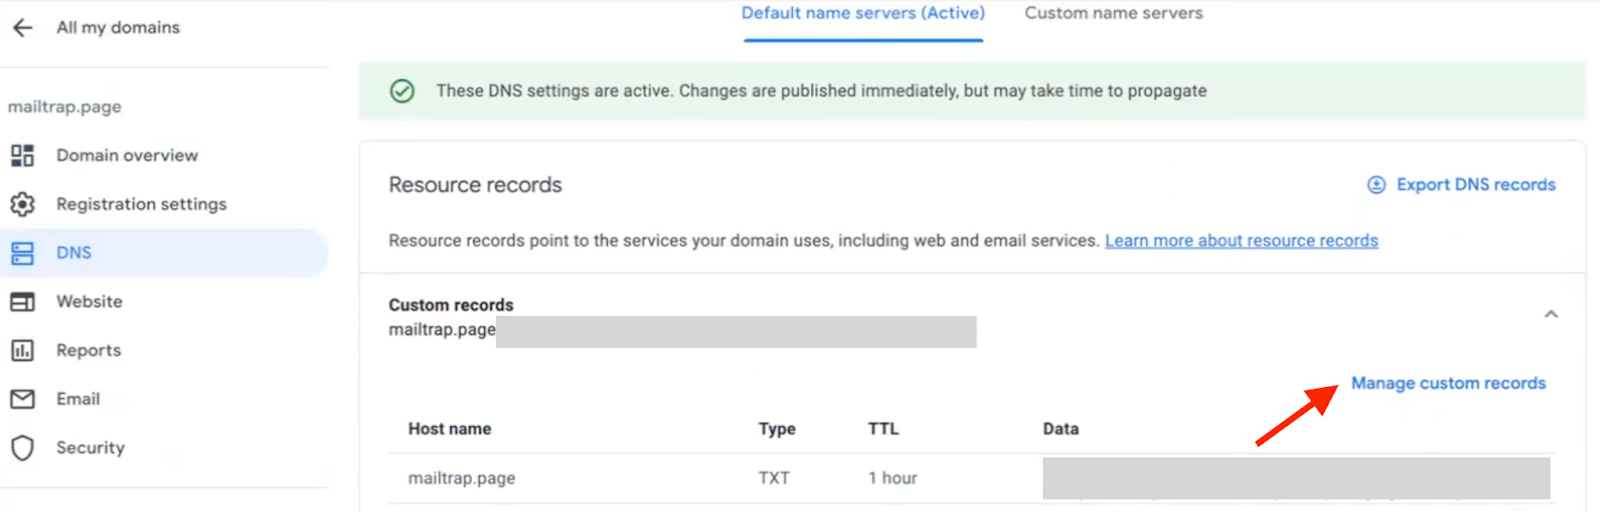
- Under Custom records in the Resource records section, choose Manage custom records. In case you don’t have any resource records, click Custom records directly.
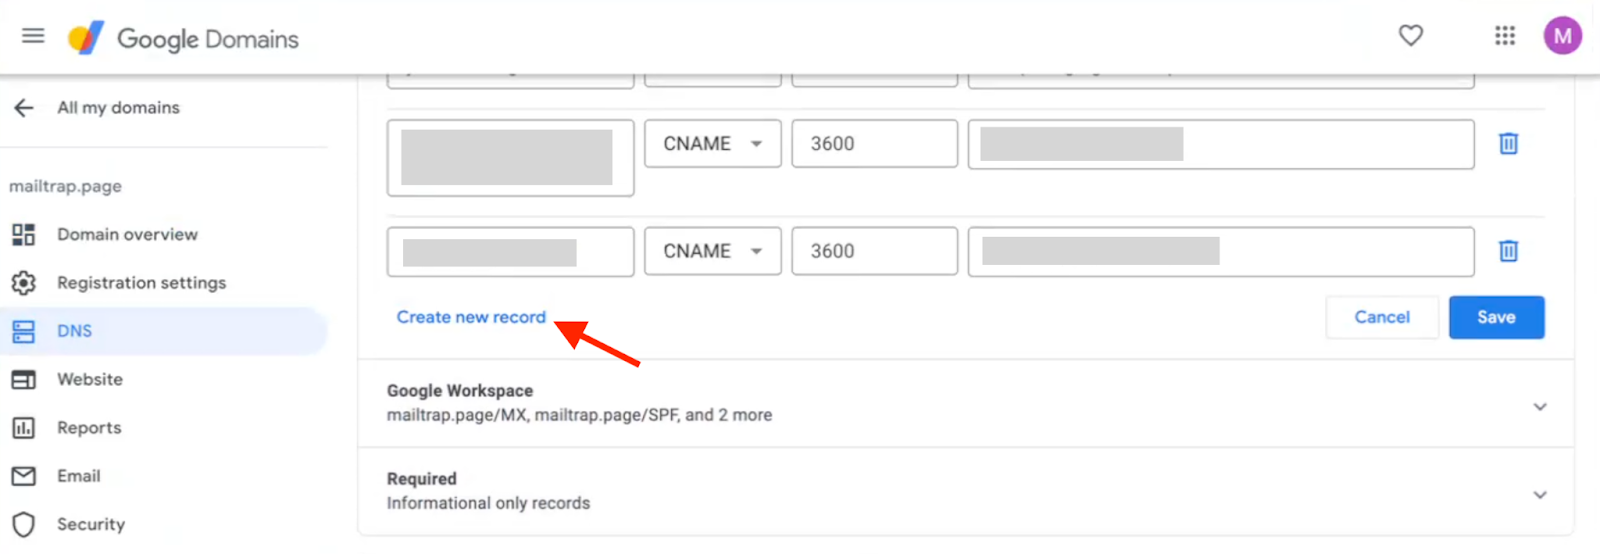
- Scroll down at the bottom of the records and click Create new record.
- Return to Mailtrap. On the Domain Verification page, you’ll see the DNS records you need to add to Google Domains. These are Domain Verification, DKIM, SPF, DMARC, and Domain Tracking. You’ll need the values under Type, Name, and Value.
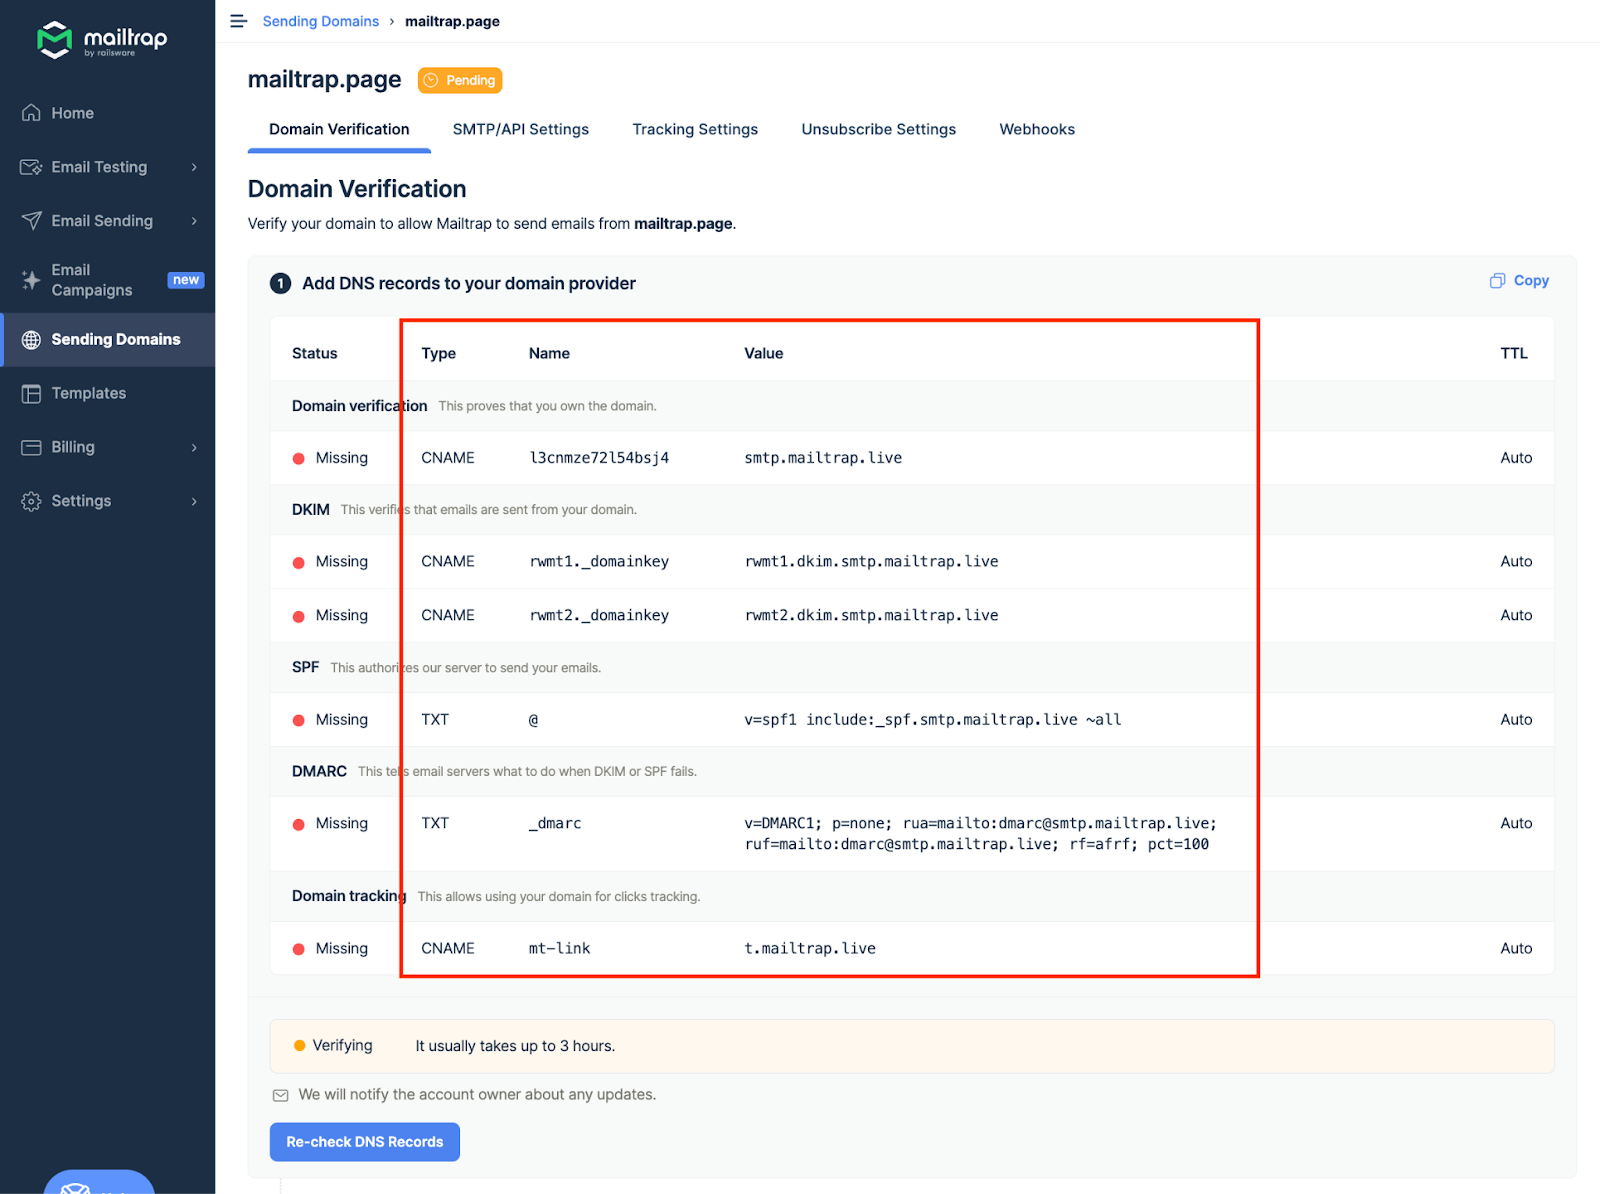
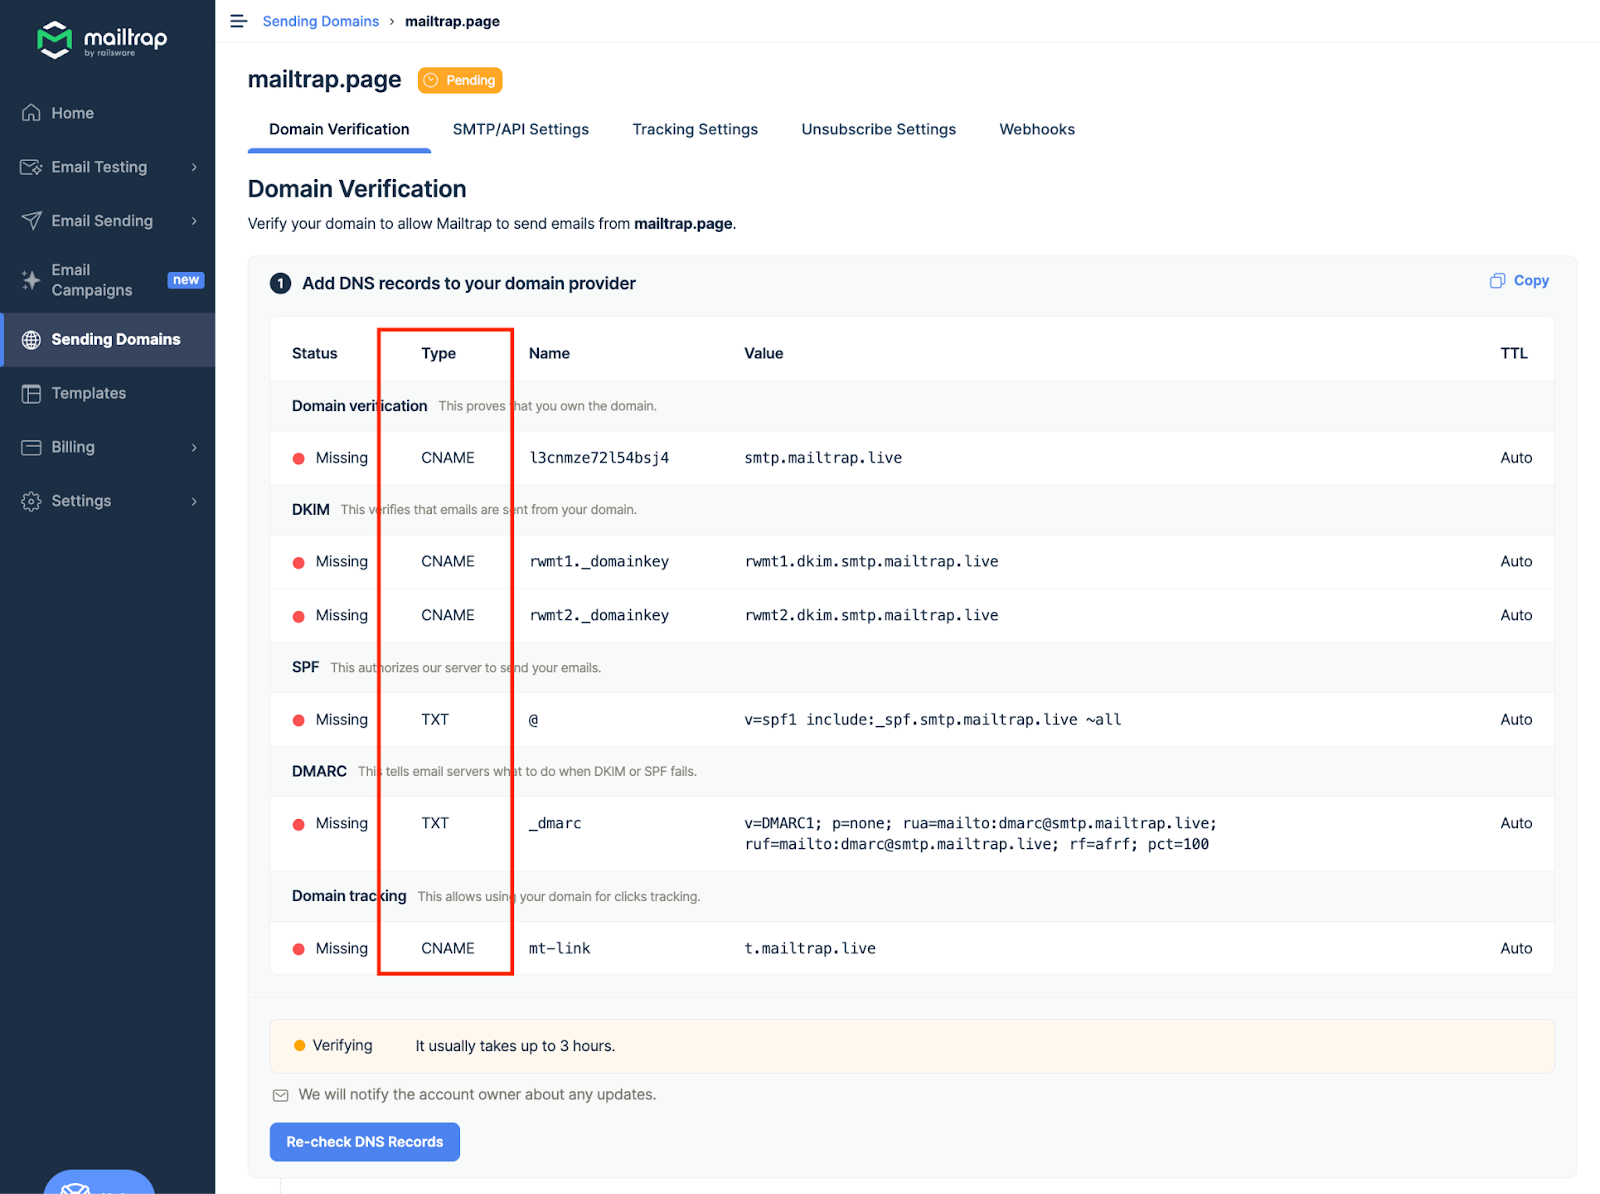
- Make sure you check the type next to each record in Mailtrap and choose a relevant one in Google Domains. There are four CNAME type records (Domain Verification, DKIM (2), and Custom Tracking Domain) and two TXT type records (SPF and DMARC). Read this article for detailed information on each DNS record. Ignore Google’s SPF record - it’s deprecated.
- Note that you should have only one SPF record. So, if you already have one for your domain, update its value to include Mailtrap. It’s okay to have multiple DMARC records.
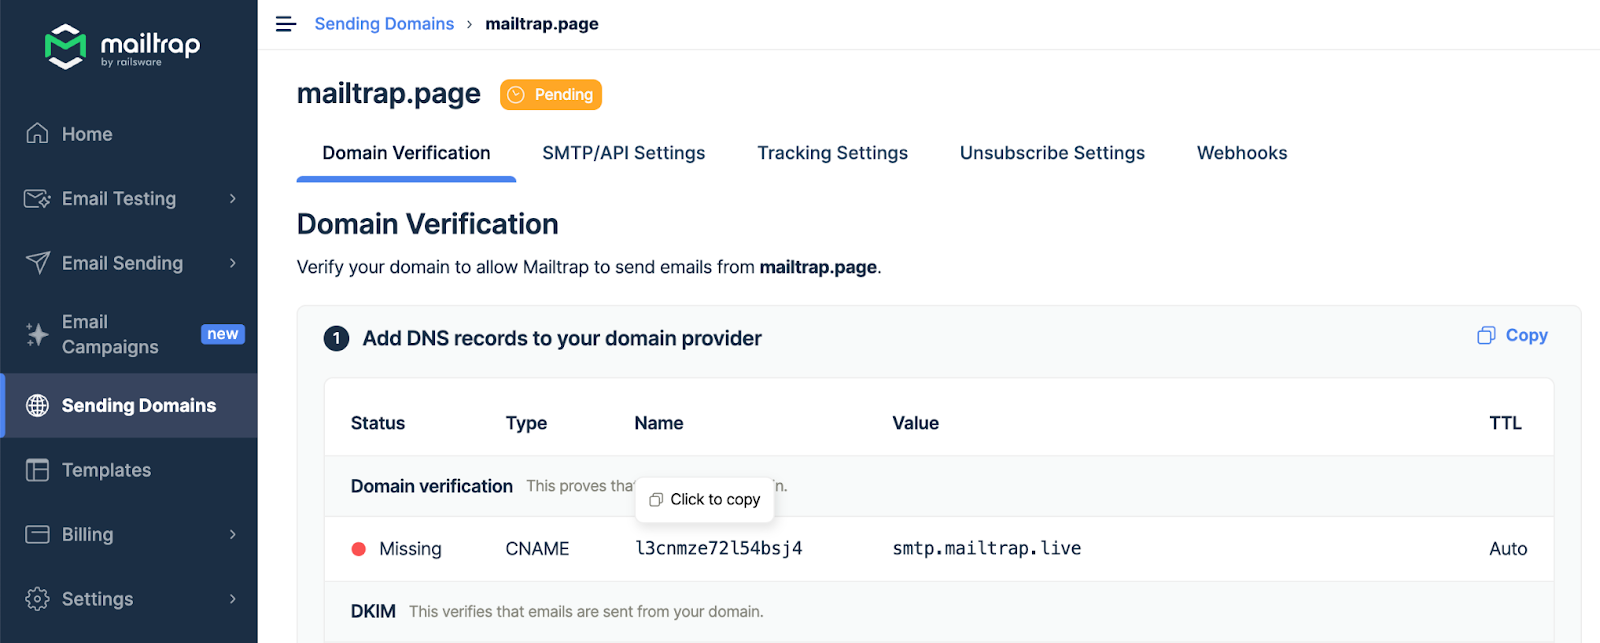
- Copy the Name and Value for each record one by one. You can do this by hovering and clicking each record.
- And paste them into Google Domains. Remember that Google Domains refers to the Name field as the Host name and the Value field as either the Domain name (for CNAME-type records) or Text (for TXT-type records).
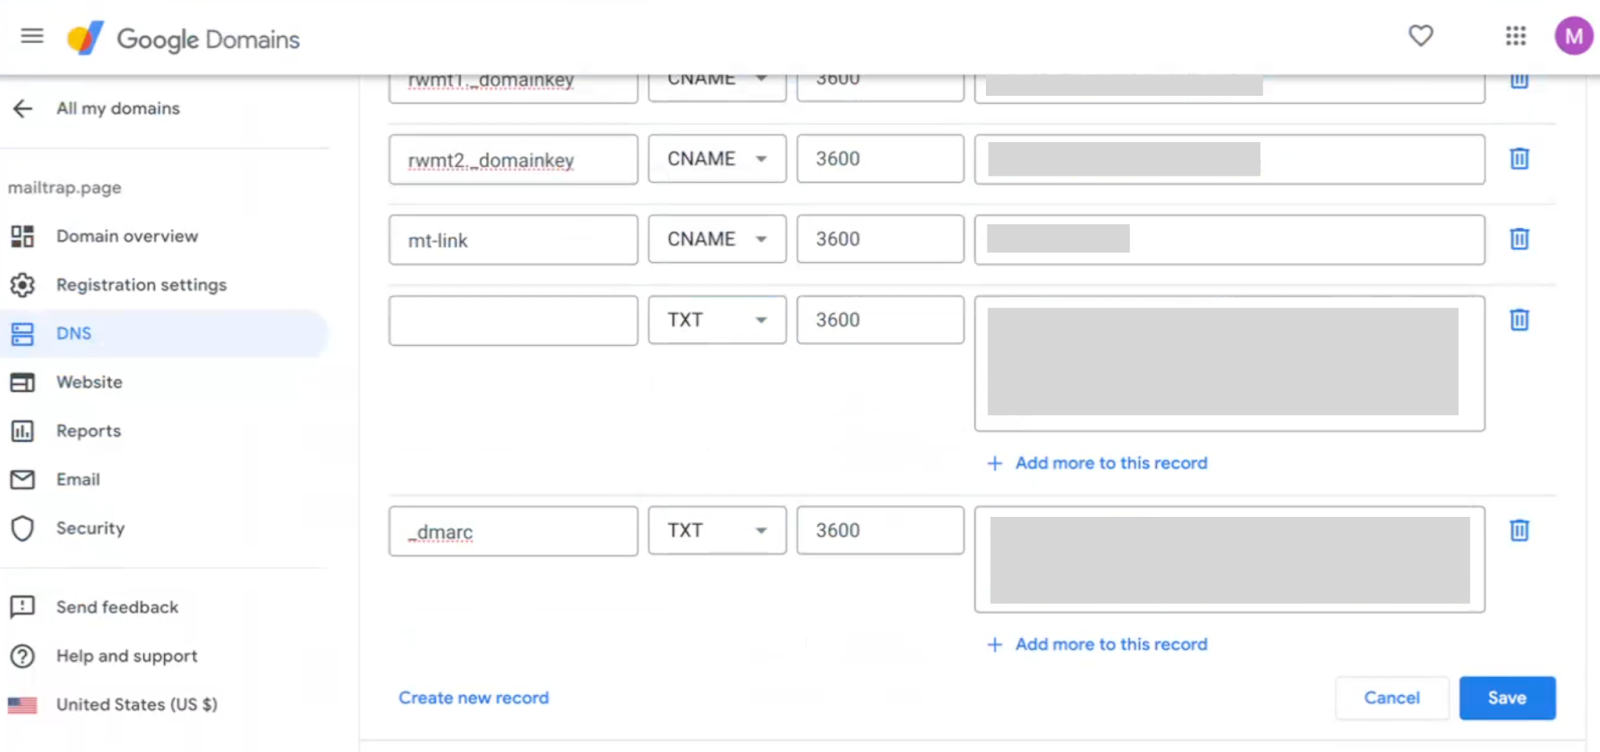
- Use the default value for TTL.
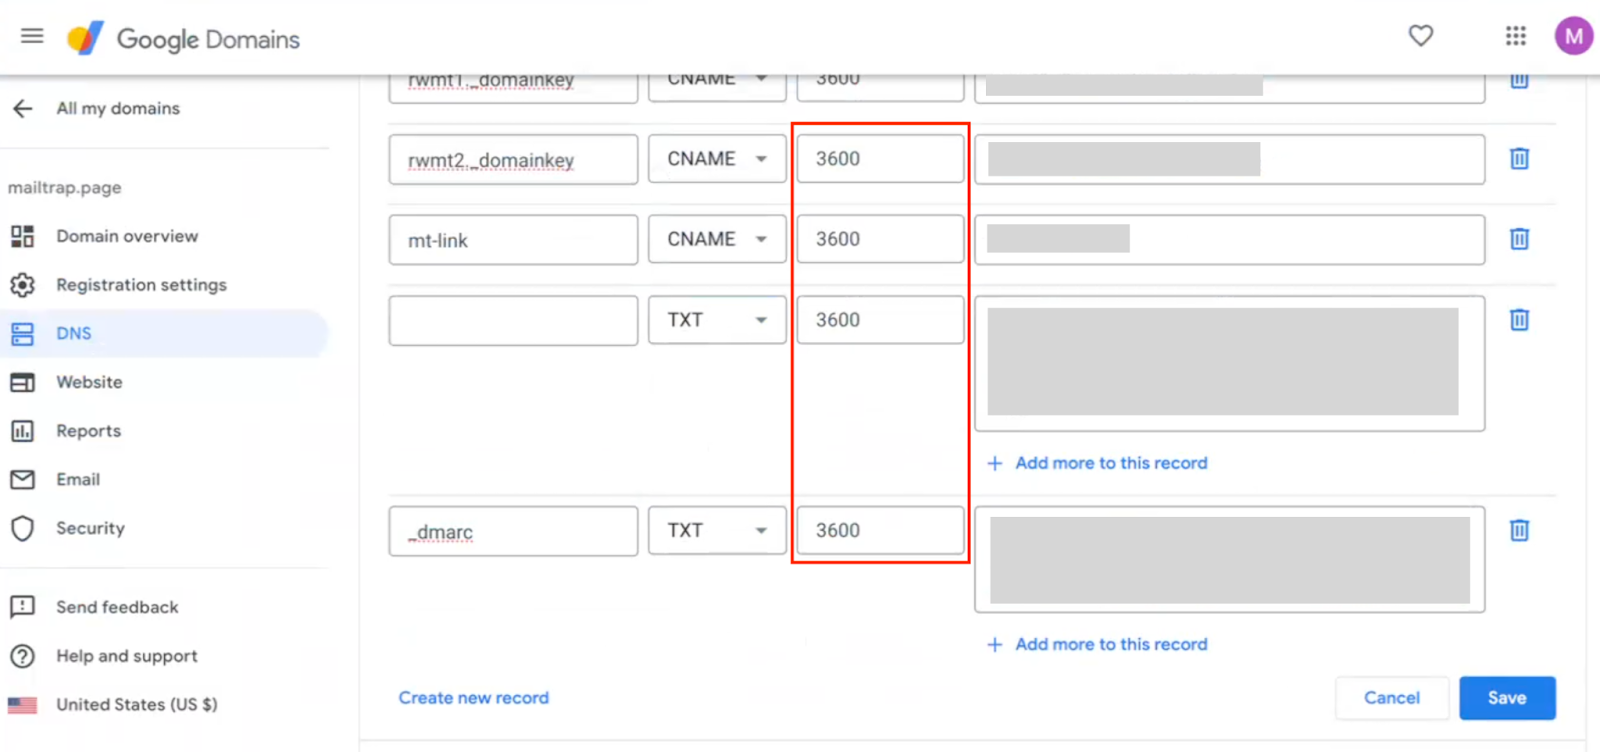
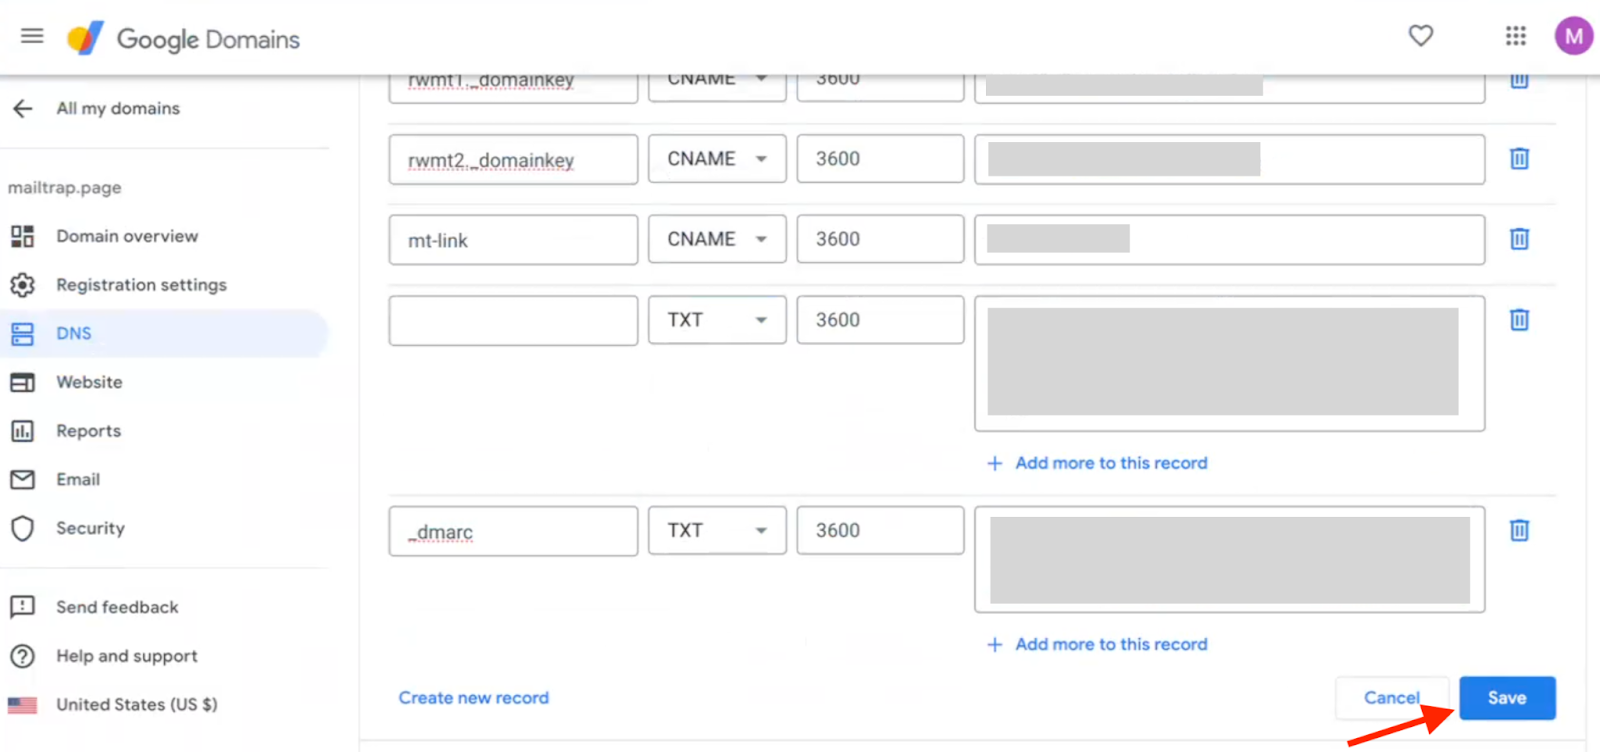
- Repeat the process of copying, pasting, and clicking Create new record for each record until you’ve added all the Mailtrap DNS records to Google Domains. Click Save.
- Then, return to Mailtrap. Some records may be verified immediately, while some may take more time. Mailtrap will check the DNS records automatically every hour, but you can force a check by clicking the Re-check DNS Records button.

- If you add all the required DNS records correctly, the Status of DNS records will change from Missing to Verified, and the red dots will turn green.
If you have additional questions, consult Google Domains documentation or contact us at support@mailtrap.io.